For me, this is a bit of a long-run pattern: In the beginning of the Corona pandemic I bought some neon coloured sock yarn in an attempt to do something out of my (color) comfort zone. At the time I didn't know what to do with it, it was just something vaguely adventurous to me. So I started to knit a big shawl without a clear final idea. I tried, ripped back, (re-)calculated row/stitch numbers, tried again etc. In the end five parts of this (10 part) piece were knitted twice, before I was happy and the it was finished in April 2023. And then it took a little while to make sense of my notes, to write it down as a pattern and ask a friend to knit one of these.
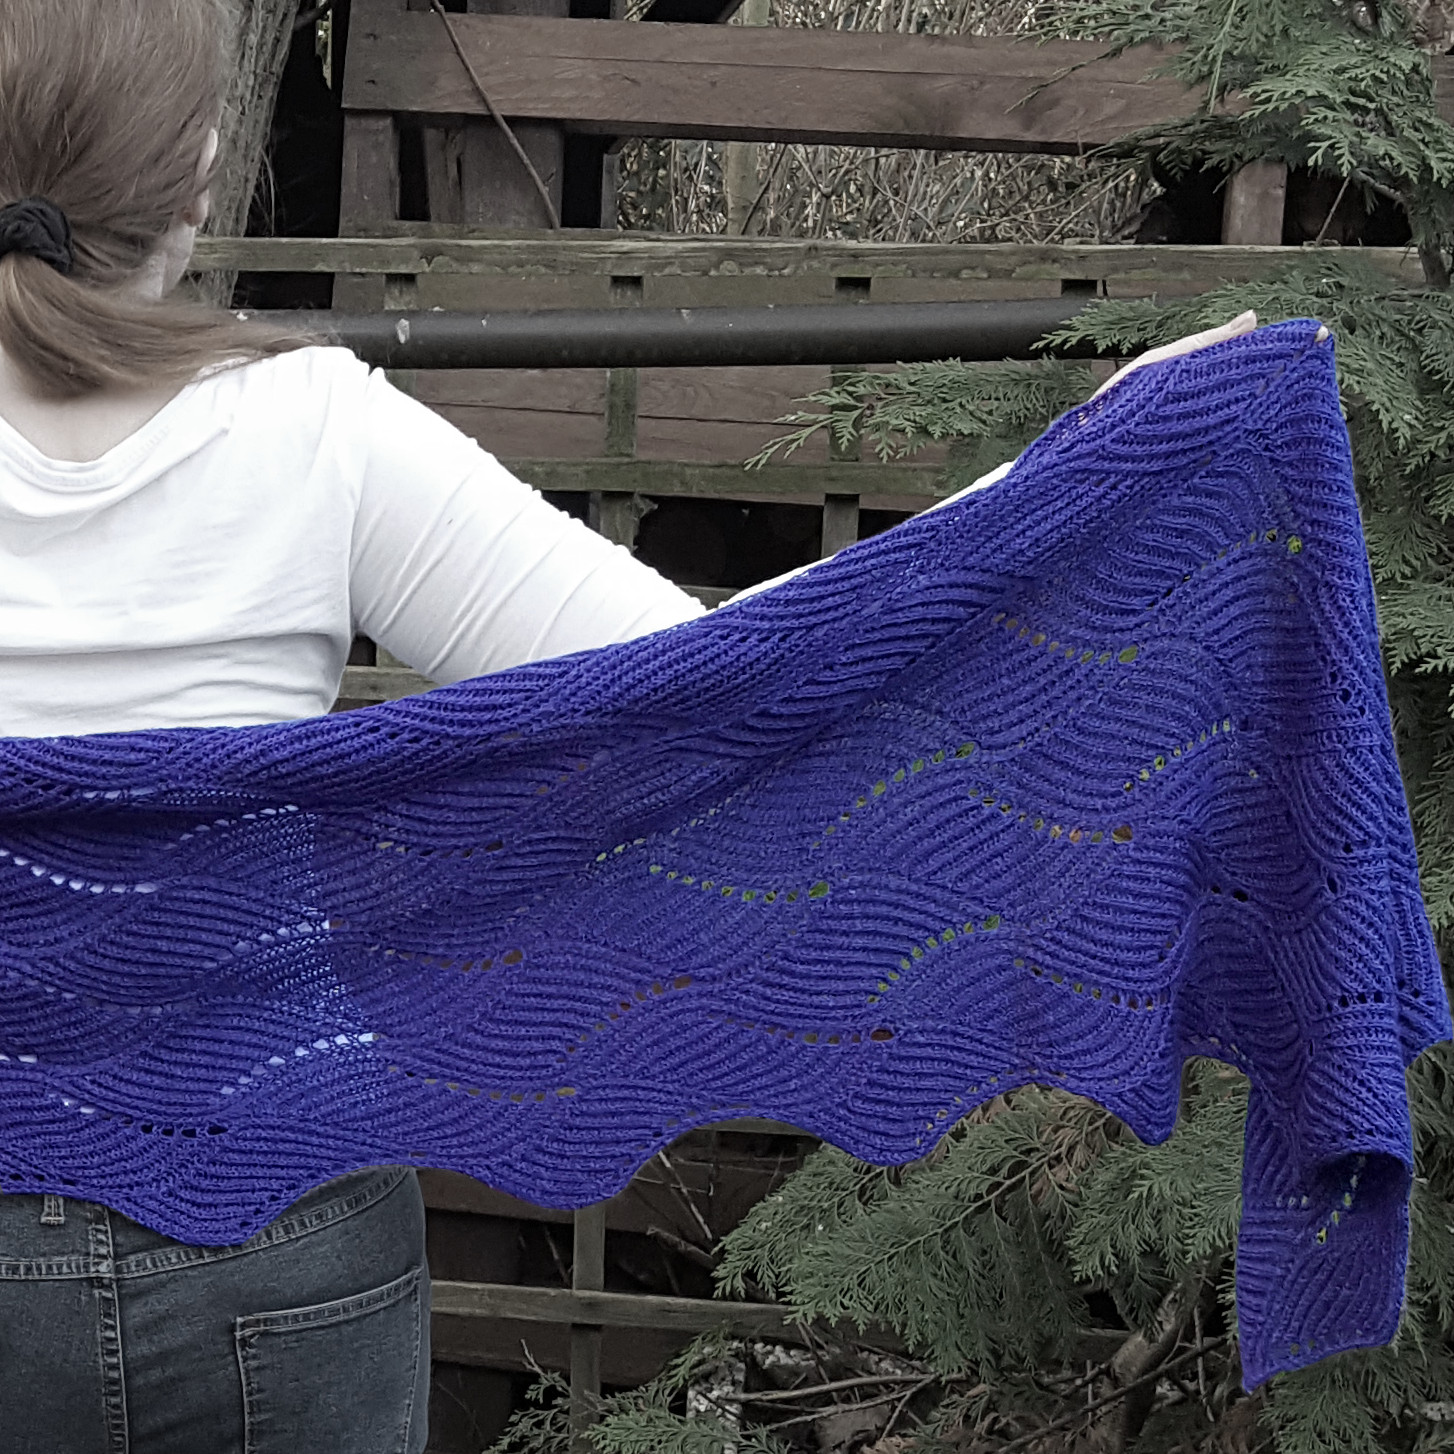
The result is a colourful shawl, in bold neon colours that are reminiscend of the 1980s. It is also a lovely mixture of colours, textures and knitting directions, i.e. a bit of a challenging knit and NOT a beginner pattern.


The knitting pattern (PDF) for this shawl is available via
- written row-by-row instructions – 15 in-process photos (9 of which showing how to do the outside zigzag-edge)
- a description of the general construction
- charts of three parts of the shawl
- short photo tutorials of the following techniques – needed to knit this shawl
- pick up and knit stitches from the edge of your knitting
- pick up and purl stitches from the edge of your knitting
- short rows with wrap and turn – and picking up the wraps
- knitted cast on

To knit this shawl you need the following materials:
- a total of 2065 metres fingering weight sock yarn in four colours (I used Zwerger Opal Uni Solid, colorways Black, Neon Pink, Neon Green and Neon Orange)
- 790 metres of the main or background colour (MC, black in the title picture), i.e. 185 grams of fingering weight super wash
- 510 metres of the first contrast colour (CC1, pink in the title picture), i.e. 120 gram of fingering weight super wash
- 340 metres of the second contrast colour (CC2, green in the title picture), i.e. 80 grams of fingering weight super wash
- 425 metres of the third contrast colour (CC3, orange in the title picture), i.e. 100 grams of fingering weight super wash
- 3mm circular knitting needle – as long as you possess (since the last row is about 2 metres long, your knitting will be scrunched up, anyway :)
- three short 3mm knitting needles, I used needles from a dpn set
- (optional) 3.25mm circular knitting needle to knit the last bind off and the I-cord edge – and to make it a bit stretchier
- stitch markers might be useful as a counting aid when you want to make sure that you have a certain number of stitches – especially when there are more than 200 sts on your needles; as a thrifty solution you can use slip knots made from scrap yarn
- yarnstoppers to prevent stitches from falling off your needles while knitting the zigzag-edge (ordinary rubber bands will do nicely)
 |
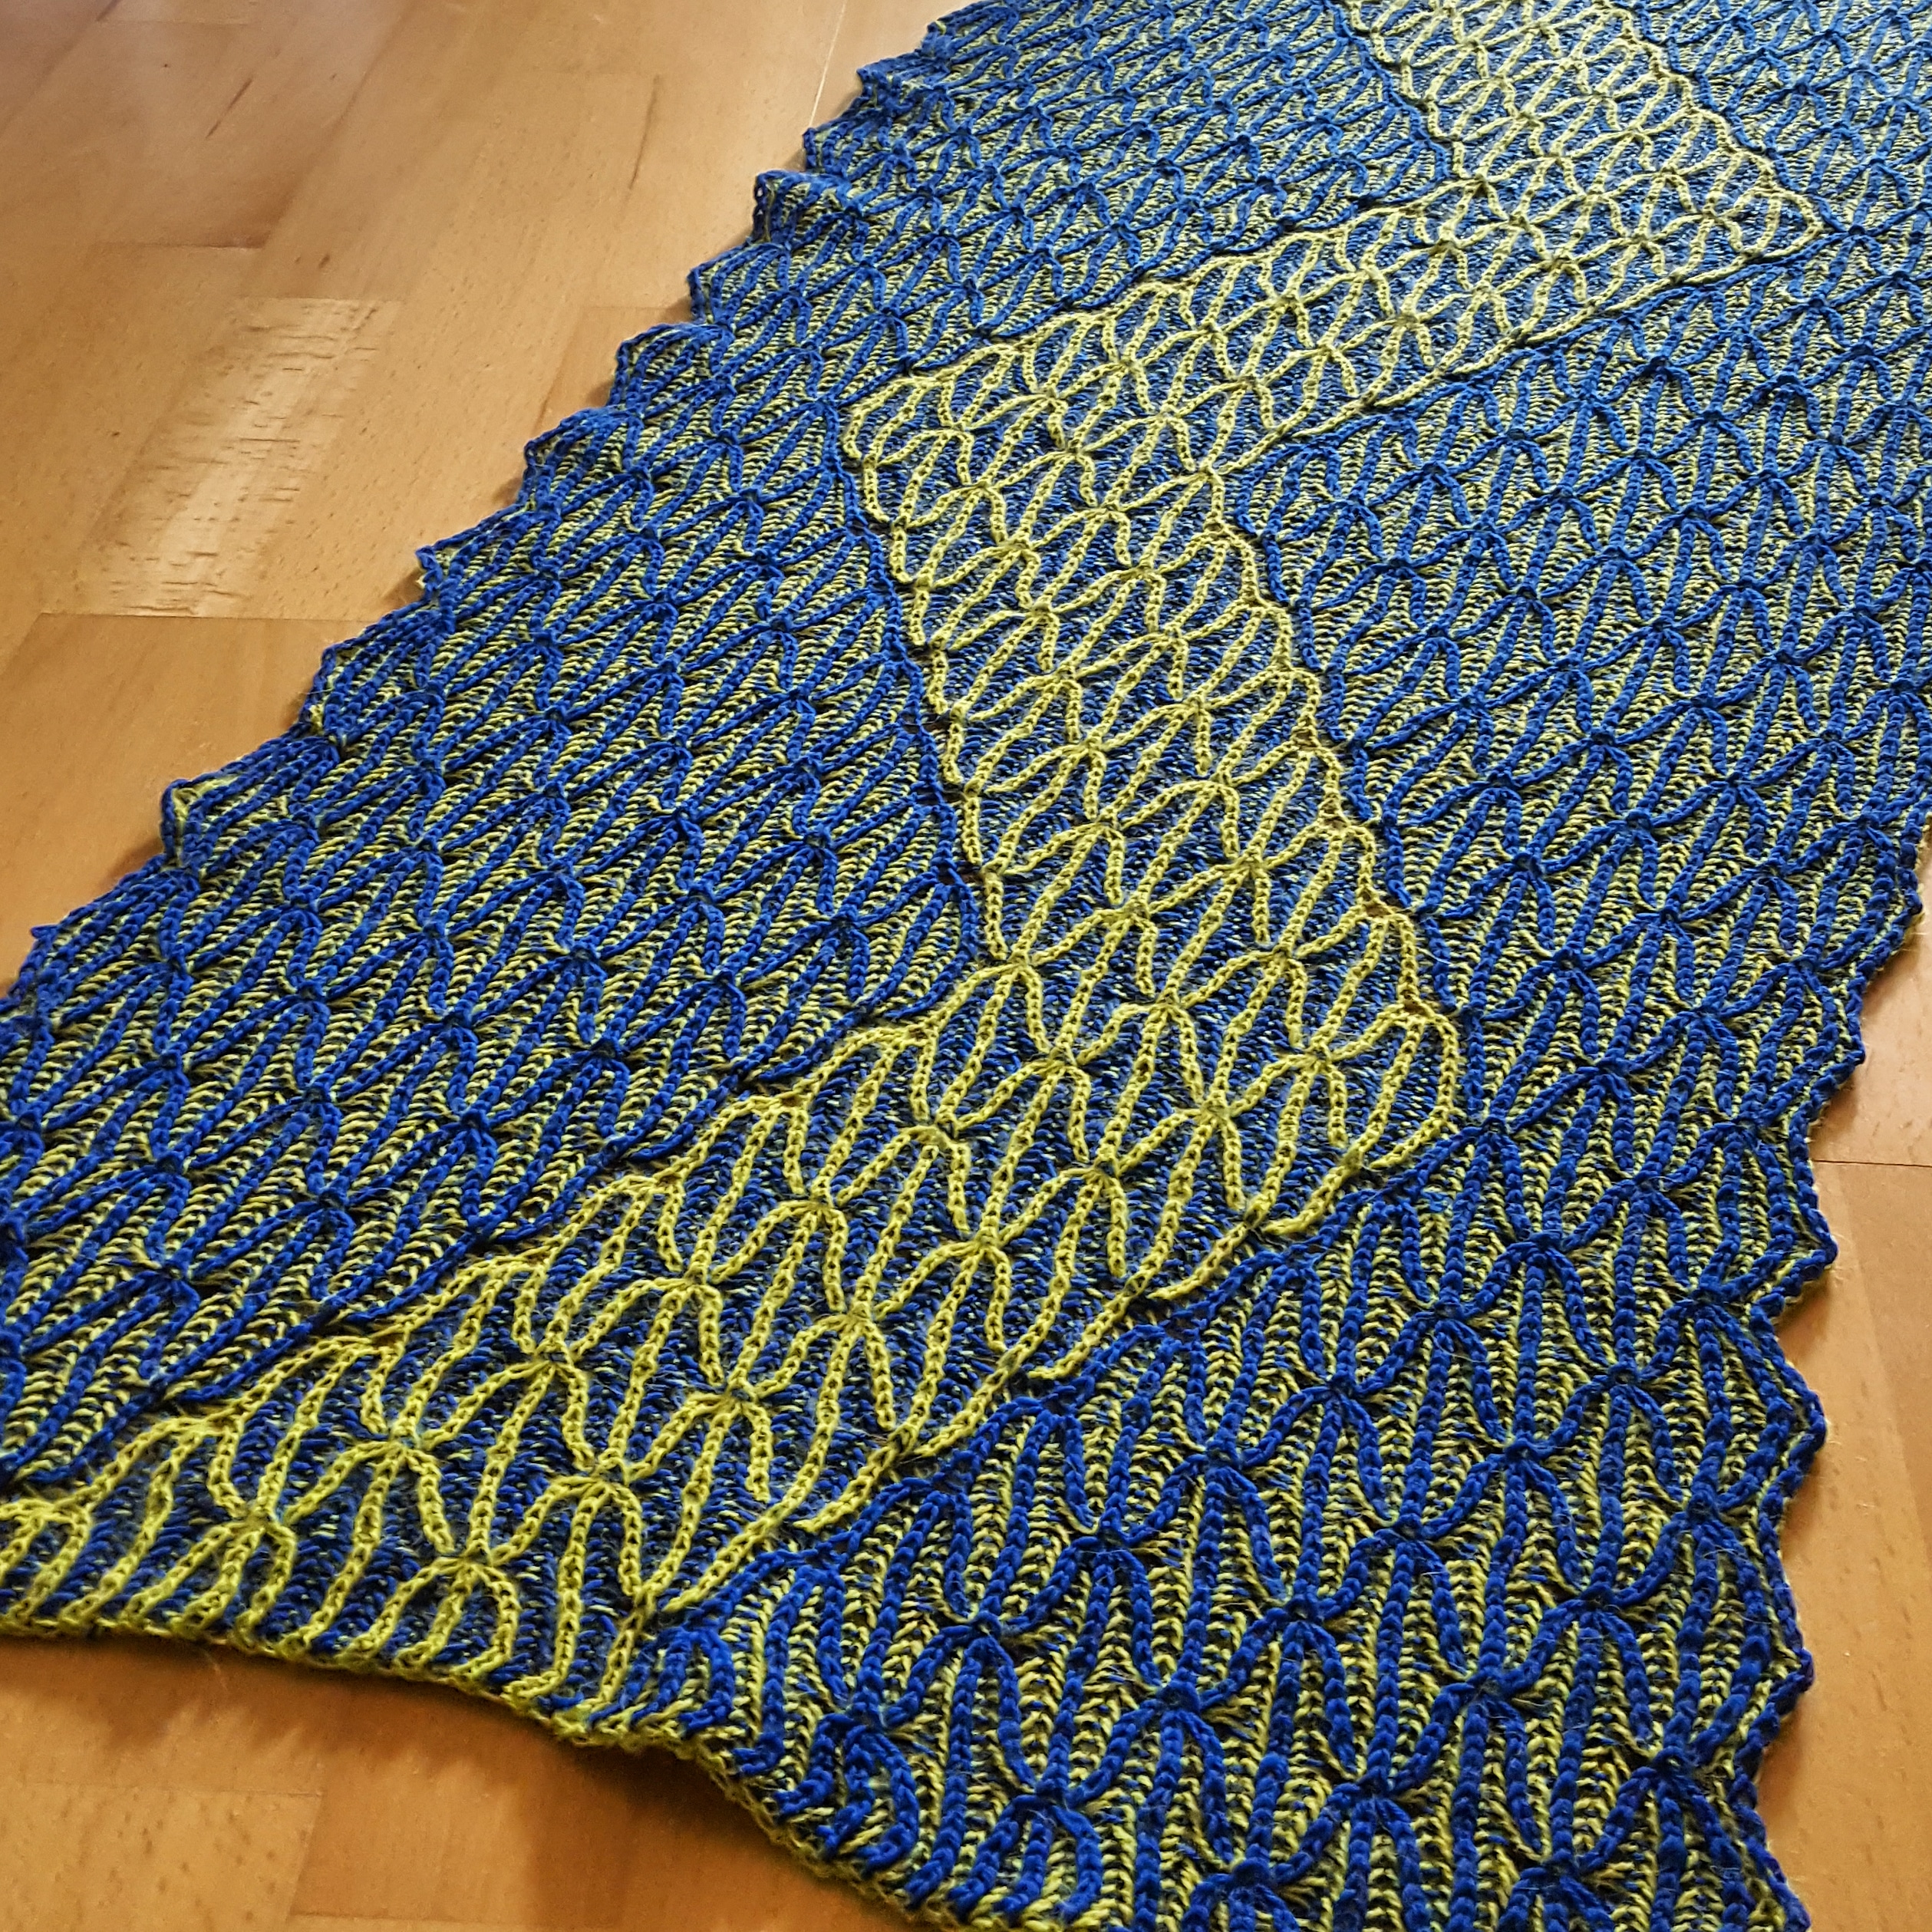
| A version in more muted colours without the zigzag edge |
Size and Gauge: In garter stitch 13 stitches gave 5 cm in width, and 13 ridges (26 rows) 5 cm in height – this was measured on a blocked piece. The finished piece measures about 200 cm in width (wingspan) and about 88 cm in depth.
 |
| Wrong Side view |


