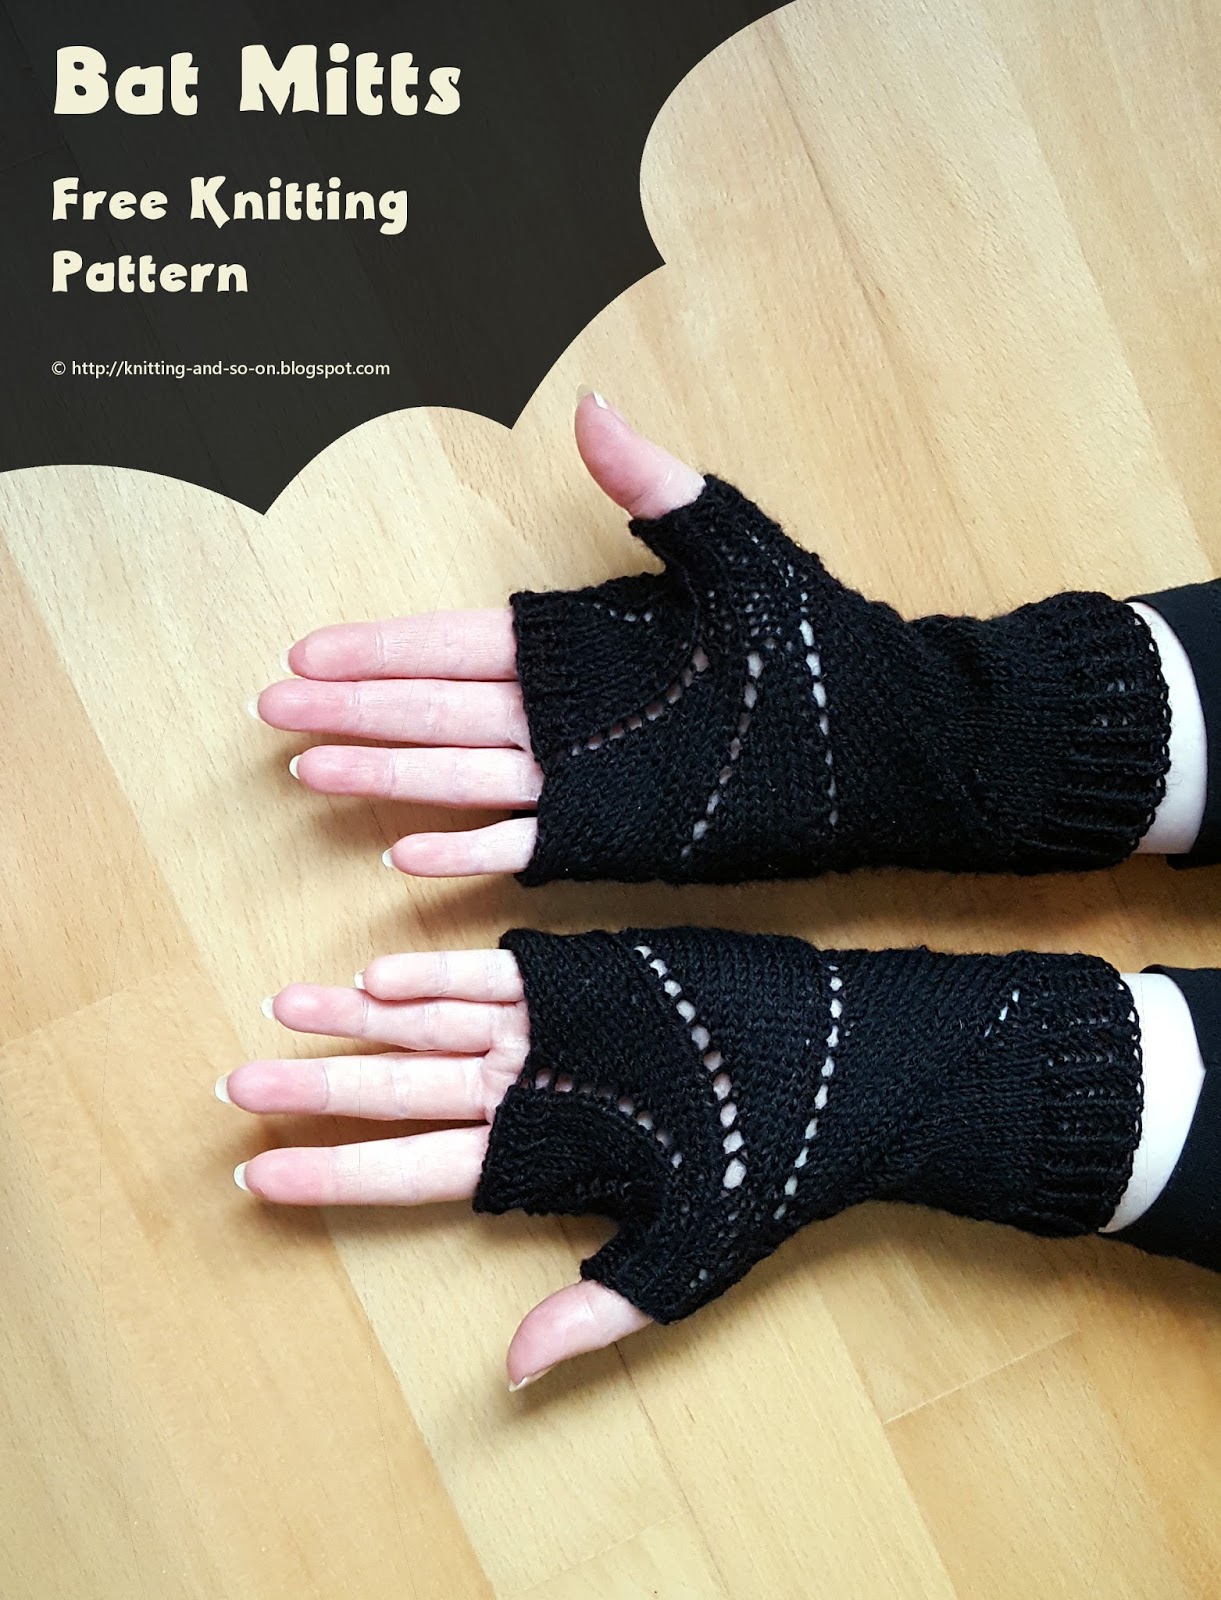
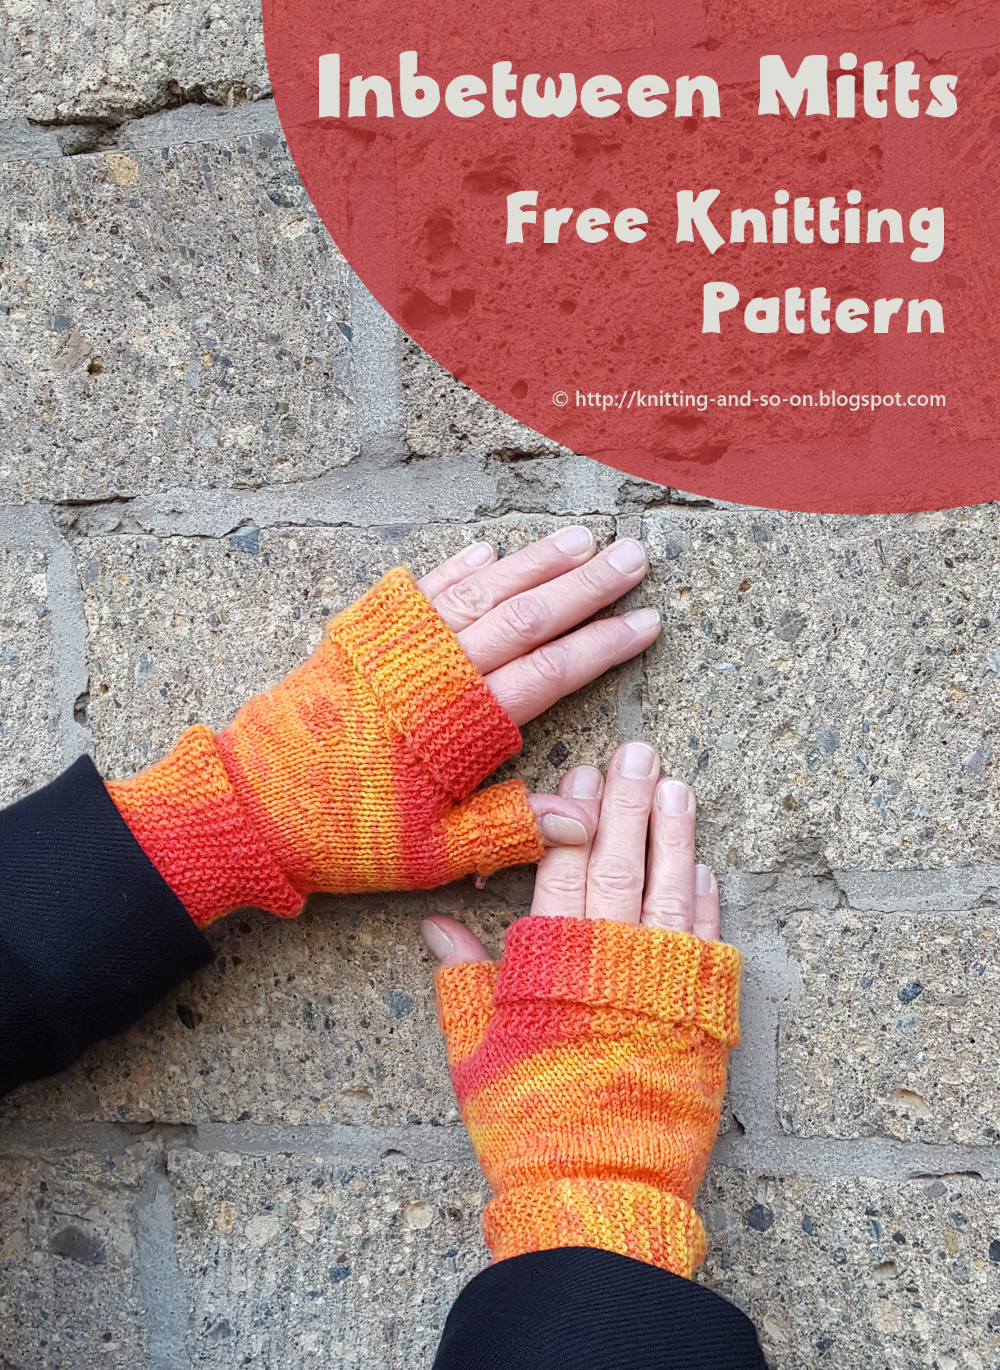
These mitts are quite easy to knit - they are knit stitch only plus some basic increases and decreases; and they are knitted all in one piece - therefore, there are only two ends to weave in per mitt.
The pattern is written in a way that it can be adapted to different hand sizes and yarn weights. Since they are knitted in different directions, they are great to show off selfstriping yarn.


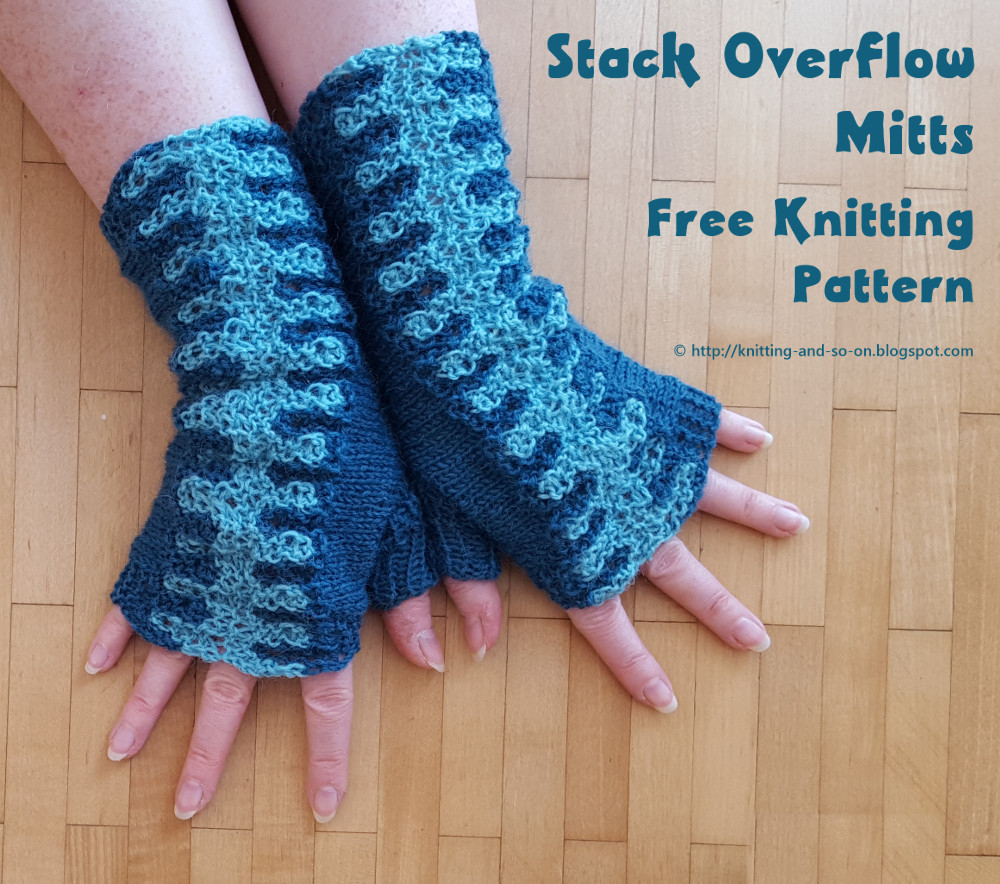
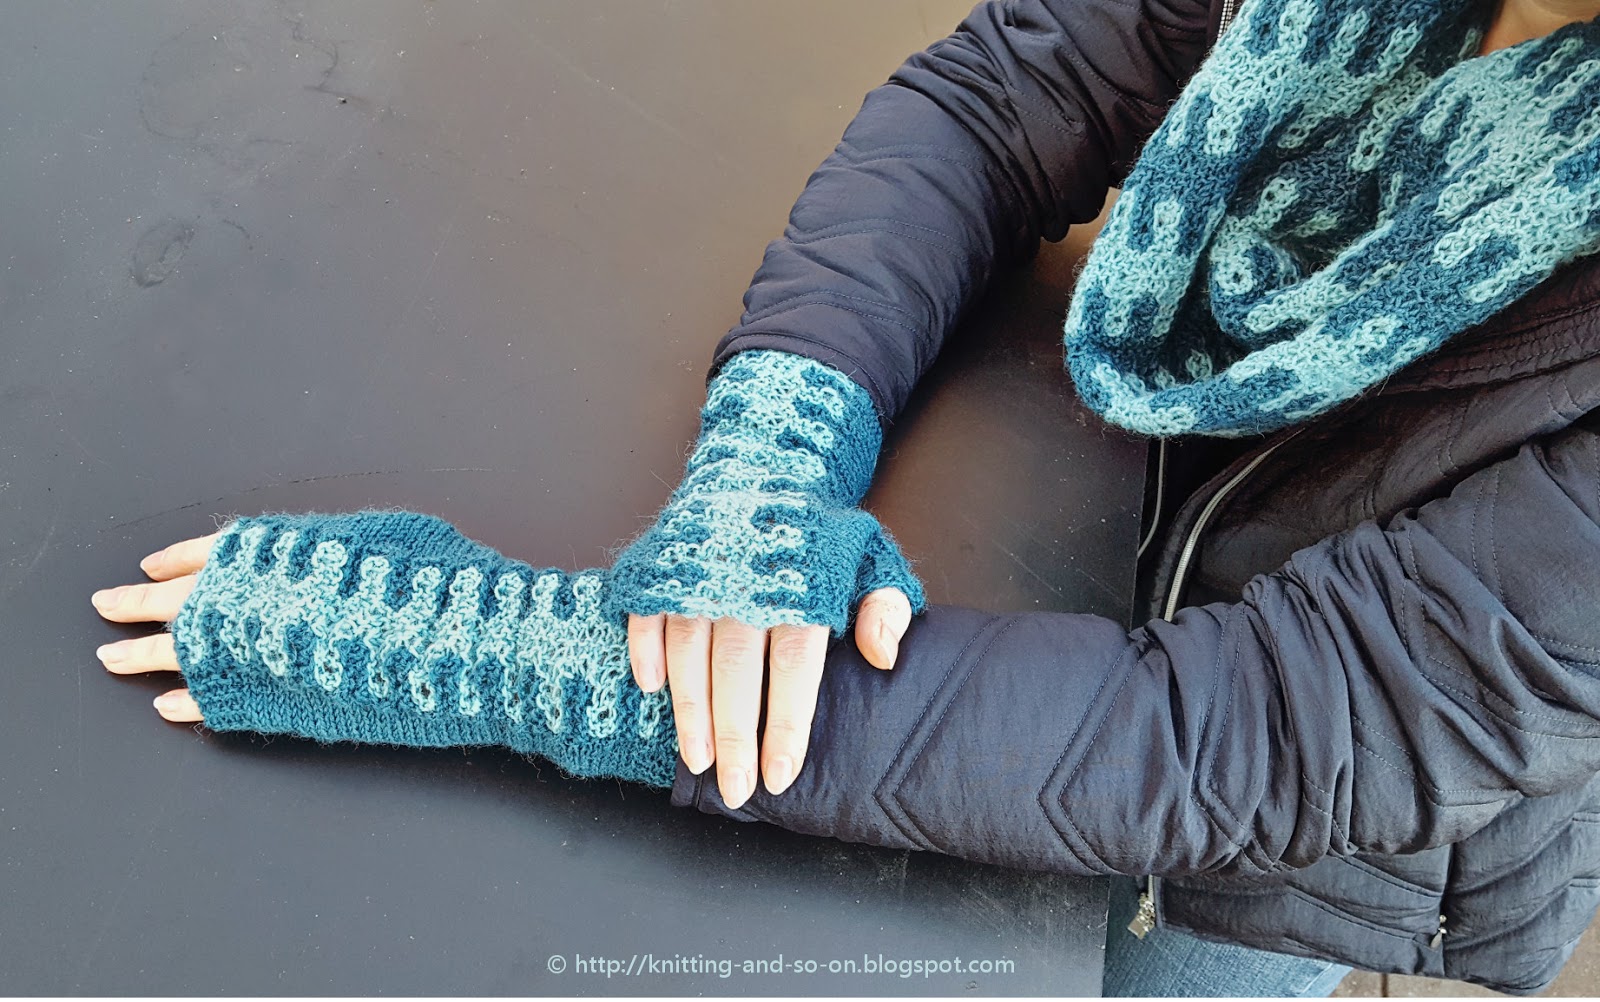
This work by Knitting and so on is licensed under a Creative Commons Attribution-NonCommercial-ShareAlike 4.0 International License.

Materials
- about 40 grams of fingering weight yarn
- 3mm needles (I used a set of dpns for parts 1, 3, 4 and 5, and a circular needle for part 2) and another needle for the three-needle BOs and the provisional COs
- two stitch markers
- scrap yarn for the provisional CO(s)
- a crochet hook for provisional CO
- a tapestry needle to weave in ends
Techniques
- Provisional CO: My favorite method for a provision CO is the crochet provisional CO - it is shown in this Youtube video by New Stitch a Day.
- German Short Rows with wrap and turn (w+t) - as shown in this YouTube video by Very Pink Knits.
- Three-Needle Bind Off: https://youtu.be/Ph93jWSzTa0
- Picking up stitches from the side and knitting them: https://youtu.be/4XtGL8vJf-g or https://youtu.be/htAHtNnuE7Q or https://youtu.be/oUPhLYkC0Fw
- Grafting in garter stitch: A technique to get an invisible (knitted) seam - this technique is shown in this YouTube Video by knittinghelp.com.
- Picking up stitches from a gap or ditch: After both three needle bind-offs there is one left over stitch which tends to have a distance to the stitches next to it. To avoid holes, I usually pick up one stitch from the gap and decrease over the new stitch in the following row (see also this YouTube video where it is shown on the example of a thumb gusset). In my experience (or the way I knit :) it's even better to pick up two stitches and knit decreases over them in the following two rows.
Gauge and Measurements
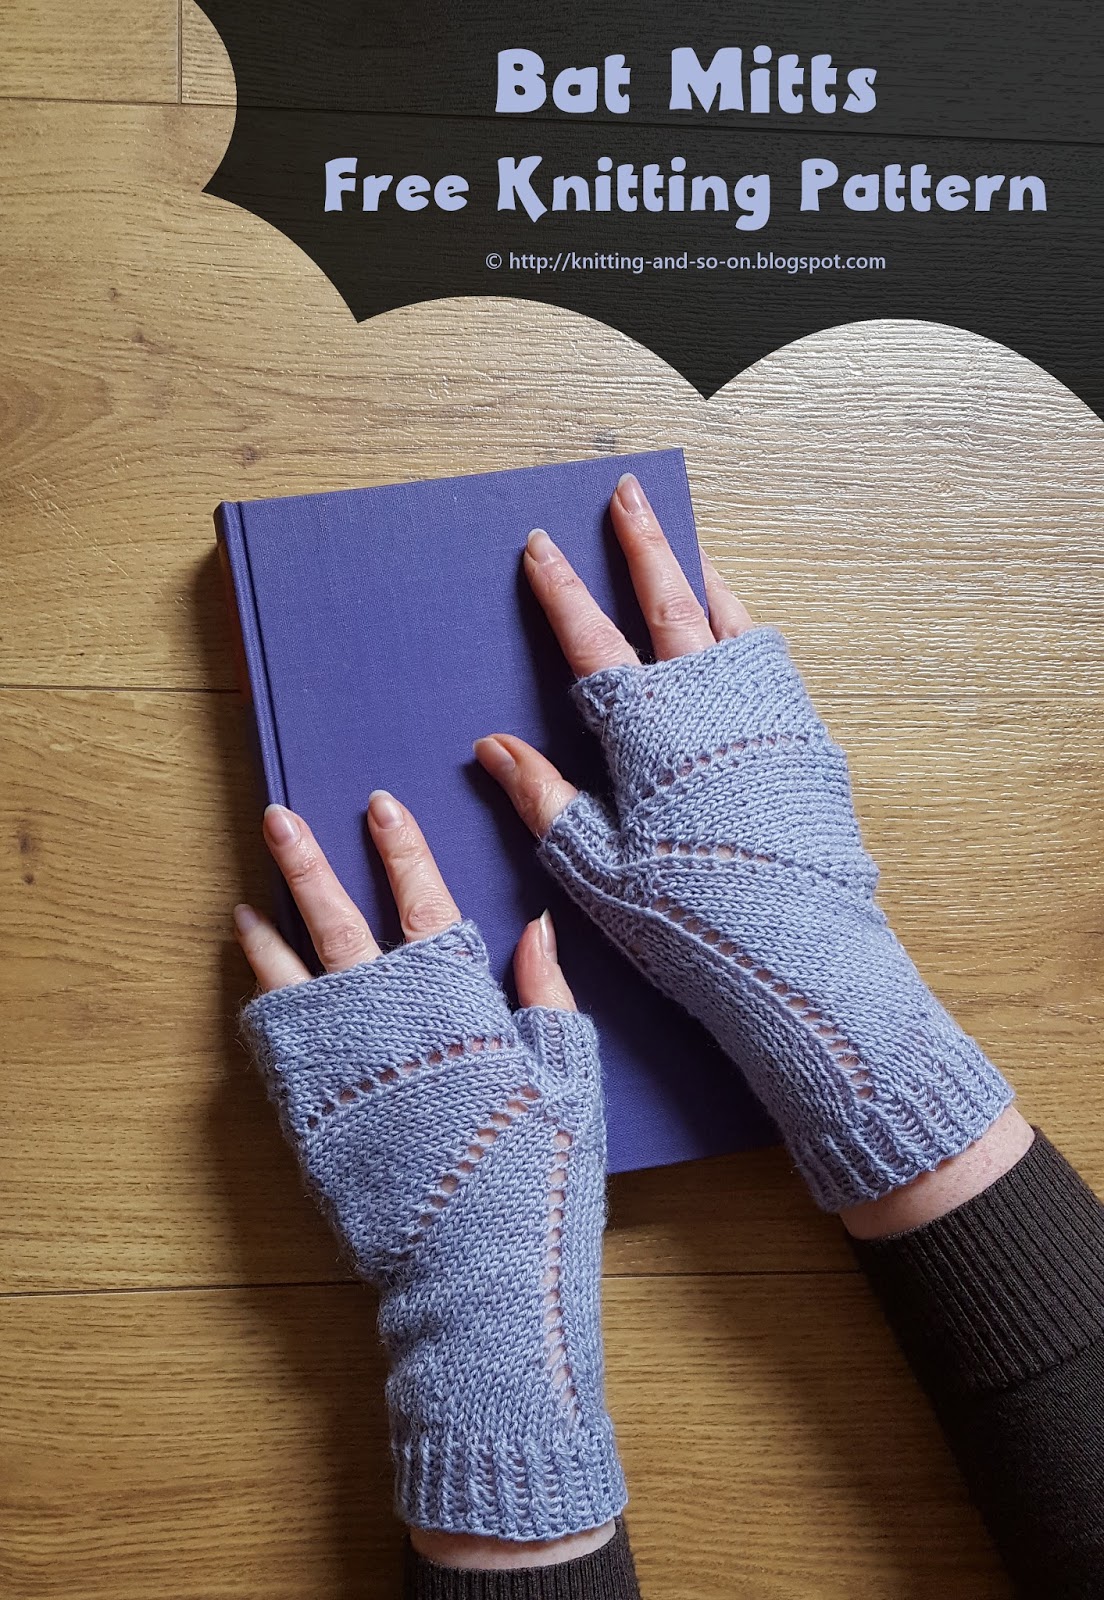
In garter stitch 12 sts gave 5 cm in width, and 13 garter stitch ridges gave 5 cm in height. The mitt in the pictures measures 26 cm in length. 20 cm in circumference at the lower edge of the cuff. The thumb circumference of is about 7 cm.
The pattern is written in a way that it can be adapted to different hand sizes. However, I have given the row counts that I used as an example - these numbers are given in purple.
General Construction
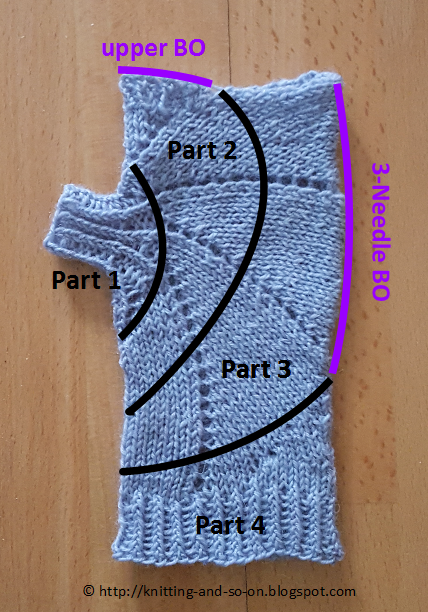
 Part 1 - the cuff - is knitted flat and in garter stitch with a few short rows for shaping, i.e. to ensure that the lower end is wider than the upper end. It ends with a three-needle bind off. Part 2 - the palm - starts with picking up stitches from the upper edge of the cuff and is knitted in stockinette stitch in the round. Part 3 is again garter stitch and knitted flat, like part 1, it ends with a three-needle BO. Part 4 - the lower part of the thumb - is knitted in the round. Finally, part 5 - the stockinette "ribbing" of the thumb is knitted flat again. It ends with grafting in garter stitch.
Instructions
Part 1 (Cuff - knitted flat)
Provisionally CO 22 sts
Setup row (RS): k all
Row 1 (WS): sl1, k to end
Row 2 (RS): k all
Repeat rows 1 and 2 four more times
Row 11 (WS, RS): k 15, t+p, k to end
Repeat rows 1 to 11 until the cuff fits around your wrist
For the mitts in the picture I knitted a total of 8 repeats of rows 1 to 11 plus rows 1 and 2 twice more.
Move stitches from provisional CO to a third needle, hold together with current stitches and do a 3 needle BO until there is only one stitch left.
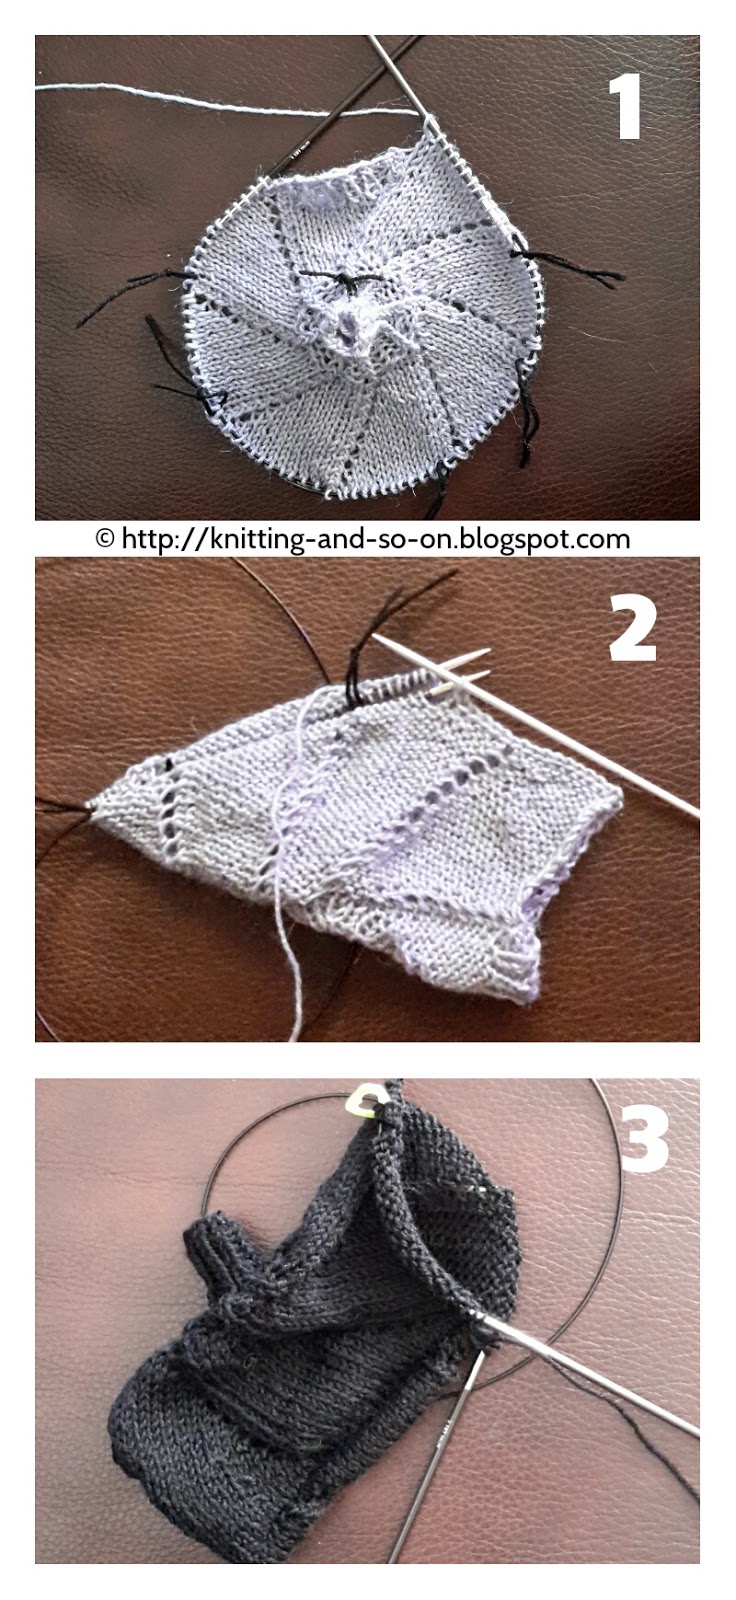
Before doing the three-needle BO your piece should now look similar to photo 1 of the illustrations.

Part 2 (Palm - knitted in the round)
Turn the mitt right sides out (i.e. so that the seam from the three-needle BO is on the inside). Starting from the stitch that is still on your needle pick up and knit stitches from the upper edge of the cuff. If necessary (i.e. if the gap between the leftover stitch and the slip stitches at the upper edge are too wide) pick up a stitch from the gap. Join in round.
For the mitt in the pictures, I picked up 43 sts.
Knit 10 rounds of stockinette stitch.
Round 11: k1 pm k1 k to end
Round 12: k to m, slip marker, mk1r, k to marker, mk1l, slip marker, k to end
Rounds 13 - 15: k all
Repeat rounds 12 to 15 four more times - now there should be 11 stitches between the two markers. These 11 sts are the thumb stitches and will be used again in part 4.

Part 3 (Upper ribbing - knitted flat)
Knit to second marker, remove this marker, and provisionally CO 22 sts on another needle.
Continue knitting the stitches from the provisional CO - your piece should look like in photo 2.
Turn work
Row 1: k21, k2tog (i.e. the last stitch from the provisional CO with the next stitch of the stockinette part), turn
Row 2: sl1, k to end
Repeat rows 1 and 2 until you have "used up" all stitches of the stockinette part, i.e. until you have reached the marker that marked the beginning of the thumb stitches.
Try the mitt on to check whether the upper ribbing fits around your fingers. If it is not wide enough, knit a few repeats of the following rows.
Row 1: k22
Row 2: sl1, k21
I knitted a total of 6 more rows (i.e. 3 repeats of these rows).
Move stitches from provisional CO to a third needle, Fold the upper ribbing right sides together and do a three-needle BO of the 22 sts of the upper ribbing. Before you start the three-needle BO your piece should look similar to photo 4.
Part 4 (Thumb - knitted in the round)
Turn the upper ribbing back right sides out. Now you can 1 sts left from the three-needle BO and 11 sts of the thumb gusset.
Round 1: Pick up stitches from the slip stitch edge of the upper ribbing. pick up one to three stitches from the first gap, knit the 11 stitches from the thumb gusset, and pick up one to three stitches from the gap.
At the end of the round 1 I had 20 stitches on my needles: 1 leftover from the 3NBO, 3 from the slip stitches of the upper ribbing, 2 from the first gap, 11 from the thumb gusset (of part 2), and 3 from the second gap (1+3+2+11+3=20).
Over the next four rounds, knit stockinette stitch while decreasing over the stitches you picked up over the gap - until there are 16 stitches left.
For the mitts in the photos the next four rounds were as follows:
Round 2: k3, k2tog, k12, ssk, k1
Round 3: k all
Round 4: k all
Round 5: k2, k2tog, k12, ssk
Part 5 (Thumb ribbing - knitted flat)
The last part is rather fiddly. You can avoid this by knitting a few rounds of k1p1-ribbing and then binding off. However, I wanted a garter stitch ribbing - so I did it the same way as I did the upper ribbing of the palm part (i.e. like part 3).
With scrap yarn do a provisional CO of 8 stitches on a new needle. Hold this needle close to the thumb stitches of your glove and knit these 8 new stitches.
Row1: k7, k2tog (i.e. the last stitch from the provisional CO with the next stitch of the stockinette part), turn
Row 2: sl1, k to end
Repeat until all the original thumb stitches have been used.
Move the stitches from the provisional CO to a new needle and graft both sides in garter stitch (see photo 6).
Make two.
Weave in ends.

This post was featured at the New Tuesday PINspiration Link Party {28}. Thank you!


)


