Mittwoch, 4. Januar 2017

Garter Stitch Haramaki

The older I get, the easier I feel chilly - not only at my feet, but also around my belly. The solution to this is a garment that is called Haramaki (腹巻, literally "belly wrap" or "bellyband") in Japanese. Though the ones I found on the internet are just a tube, I wanted a piece of clothing that could be wrapped and adjusted around my belly and hips, that's why I knitted a flat one and included a strap on either side.

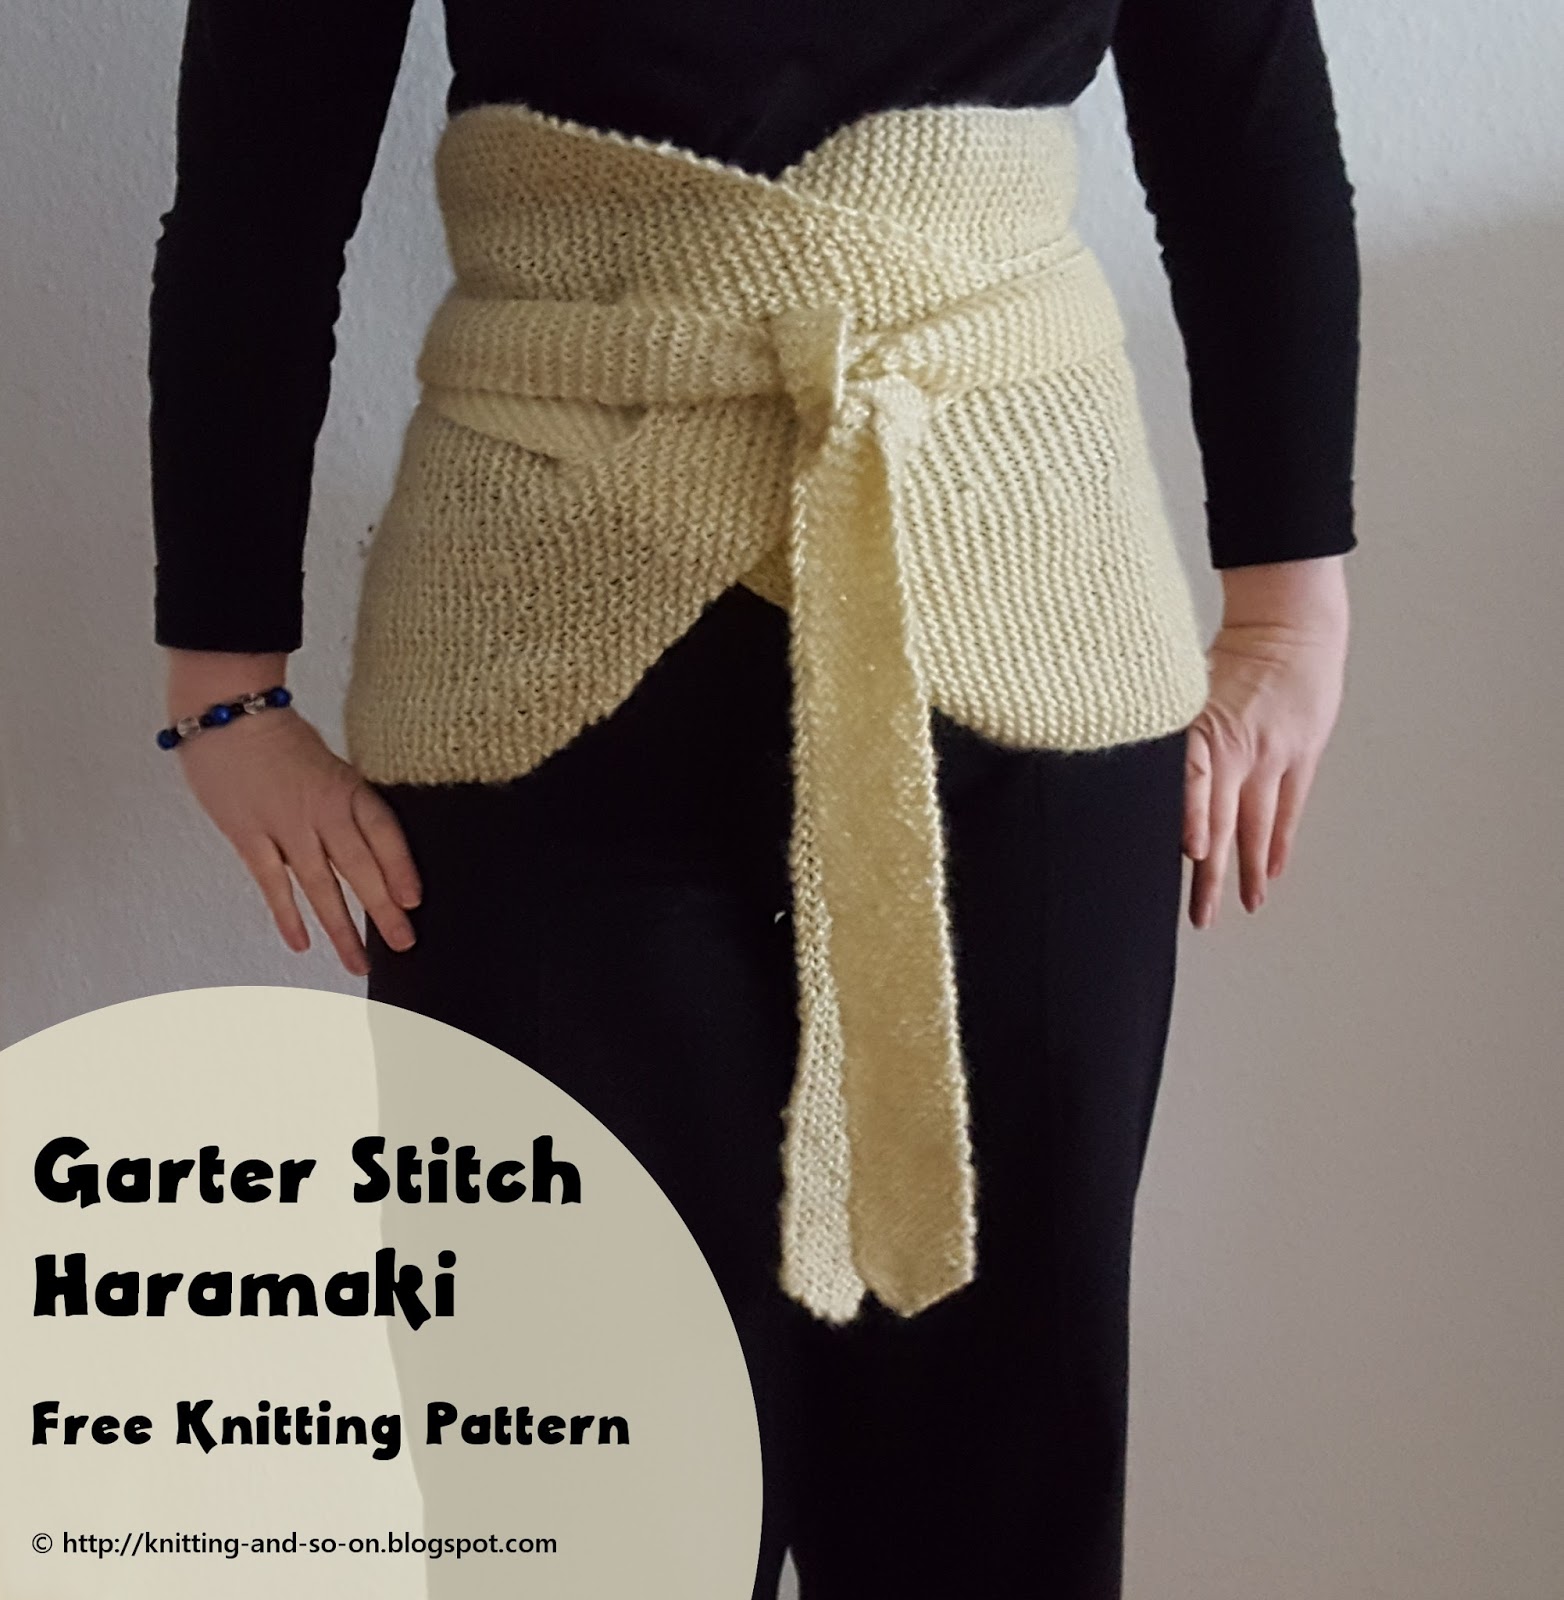
The piece is knitted all in garter stitch and therefore quite easy to knit. It is suitable for beginners as well.


Creative Commons License
This work by Knitting and so on is licensed under a Creative Commons Attribution-NonCommercial-ShareAlike 4.0 International License.


A danish translation of this pattern was written by Marianne Holmen of strikkeglad.dk - it is available here.


Materials
  • about 150 to 250 grams of DK weight yarn
  • 4.5mm needles
  • a tapestry needle to weave in ends
  • some scrap yarn to mark the RS

Techniques
  • Short rows (with any technique you like) - since this is all garter stitch I used "wrap and turn" technique (w+t, see this YouTube video by Very Pink Knits). But any other technique will work fine as well.
  • Backwards loop cast on: a cast on that can be inserted in the middle of the row, see this YouTube video also by Very Pink Knits

Construction 
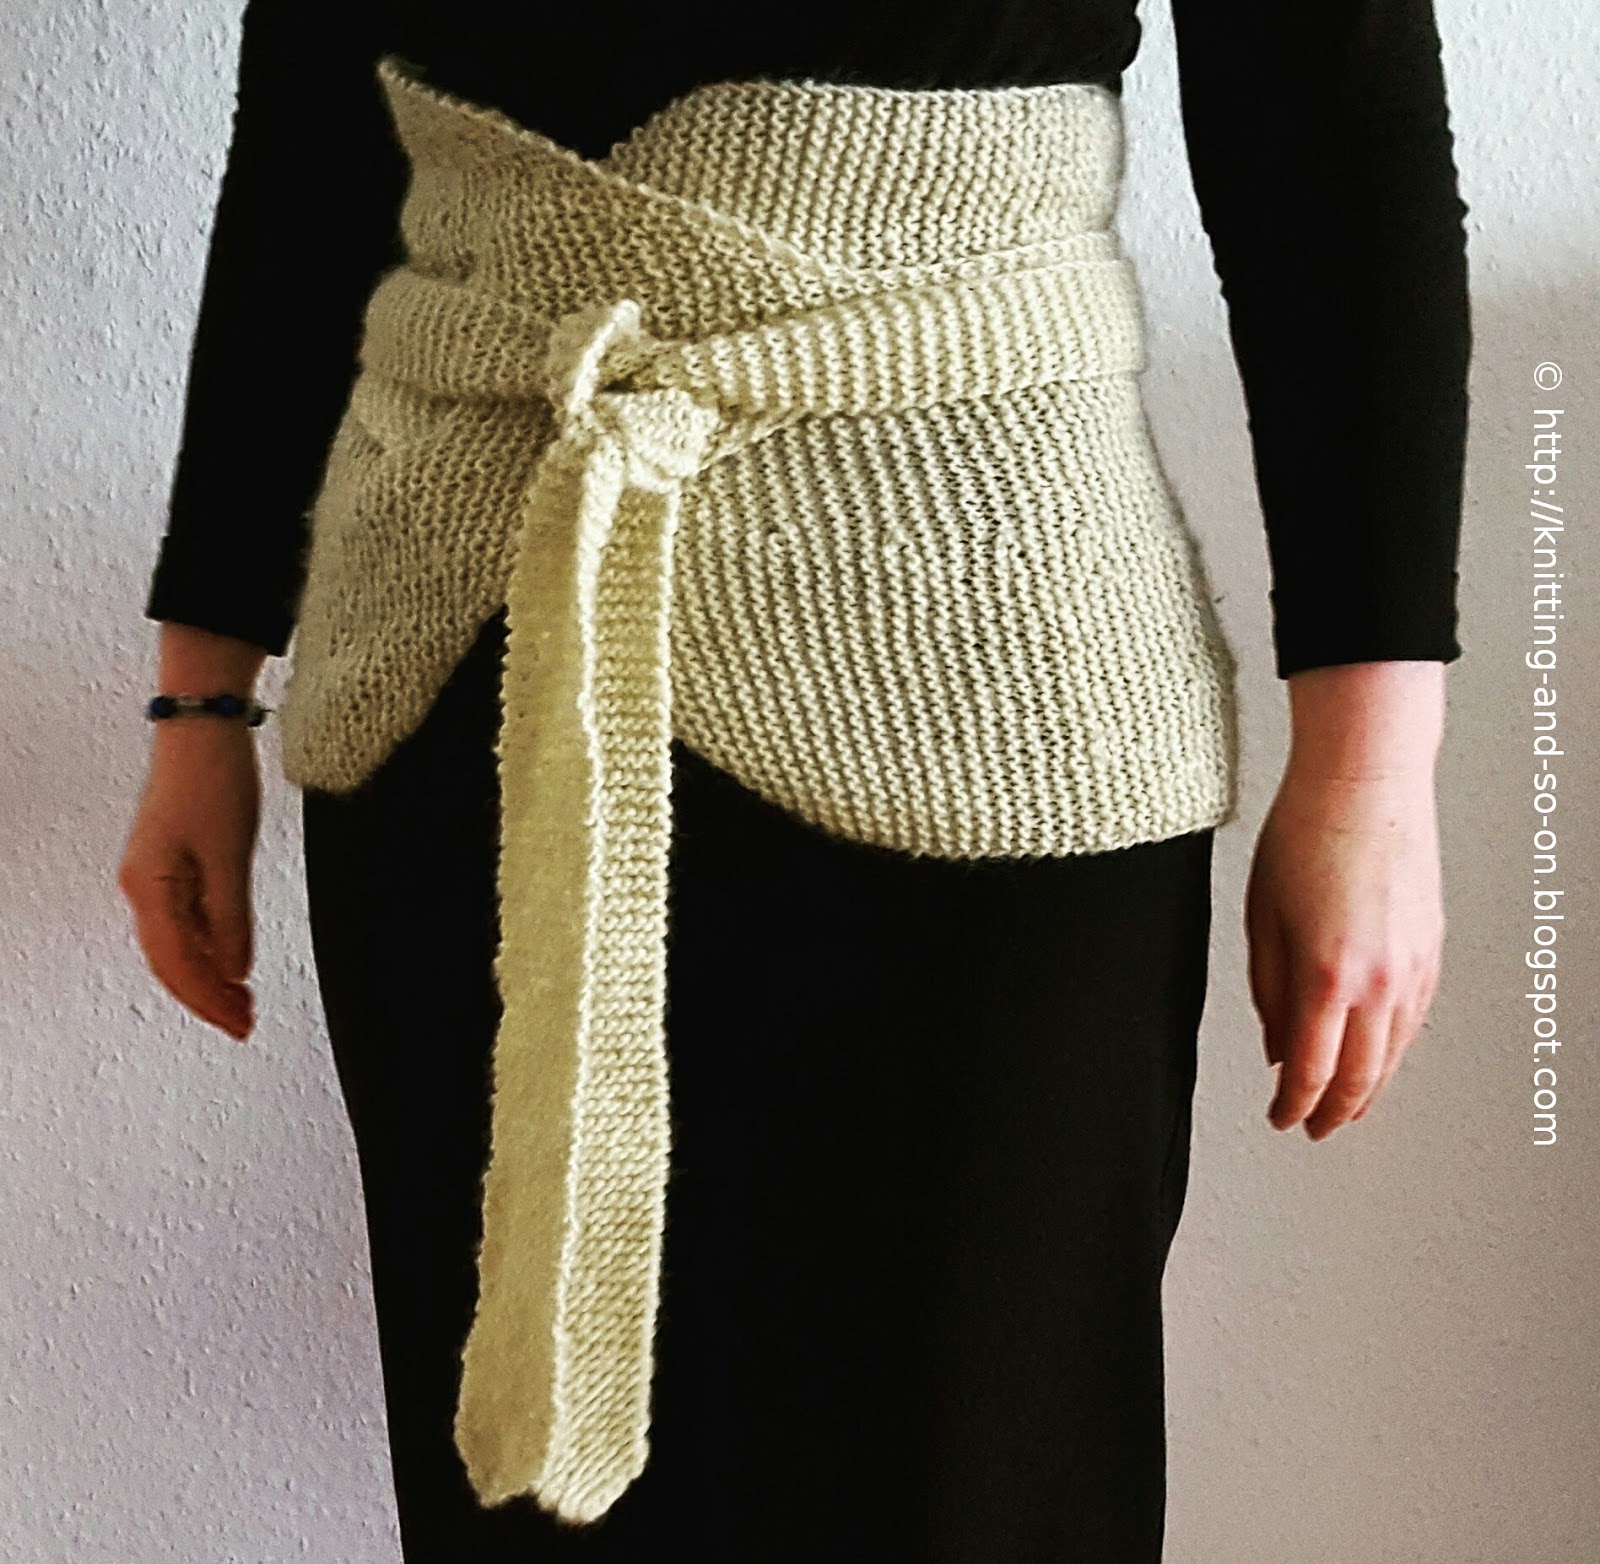
As shown below the piece is constructed of two straps and a body piece. You begin by knitting one strap, then you increase to get the desired width for your body piece - here you insert a whole. Then you knit the piece including some short rows (to make it fit around waist and hips). When the body piece is long enough to fit around your waist, you decrease and knit the second strap. The hole is needed to pull one strap through.


Measurements, How to Calculate the Short Rows and Gauge
In order to knit this piece to fit your body, you need to take the following measurements:
  • your waist circumference (w) and 
  • your hip circumference (h)
Now calculate the ratio of these two measurements. For me (waist = 80 cm, hips = 100 cm), it was 8 to 10 or 4 to 5. This means that for every 4 garter stitch ridges at the upper end (waist) I needed to knit 5 garter stitch ridges at the lower end (hip). In turn, this meant that after every 4 garter stitch ridges I needed to insert a short row on lower end (hip).

If you don't want to calculate, I have included below a summary of a clothing size table for ladies I found on wikipedia, together with the ratio of normal ridges to short row ridges that I would suggest for the given size: e.g. if you are an S-size, knit 3 normal ridges and then one short row ridge or for and XL knit 5 normal ridges and then one short row ridge. (Yes, the ratio is not very exact, but the piece will be very stretchy, so it should be fine.)


XS S M L XL XXL
Waist (cm) 58 – 64 65 – 72 73 – 81 82 – 90 91 to 102 103 – 114
Hips (cm) 80 – 89 90 – 97 98 – 104 105 – 112 113 to 122 123 – 134
Ratio 3 to 4 3 to 4 4 to 5 4 to 5 5 to 6 5 to 6

With the yarn I used I had the following gauge in garter stitch: 16 sts gave 10 cm in width and 15 ridges (30 rows) gave 10 cm in height.
The finished piece was about 35 cm wide in the mid part of the body piece.
If you have different gauge, you can adjust the width by doing more or less increasing rows (and also the decreasing rows).


Instructions

1st strap
CO2
R1 (RS): k all
R2 (WS): kfb, k to last st, kfb
Repeat rows 1 and 2 until there are 10 stitches on your needles

Then knit garter stitch rows (k all), until the strap measures your waist circumference plus 15 cm.

Body piece

Increasing part

R1 (RS): k all
R2 (WS): kfb, k to last st, kfb
Use some scrap yarn to mark the RS. Repeat these rows until there are 48 stitches on your needles.

For the hole, knit the following two rows once:
R1 (RS): k20, BO8, k20
R2 (WS): k20, CO8 (with backwards loop CO), k to last st, kfb

Then continue with some increases on the lower end (hip):
R1 (RS): k all
R2 (WS): k to last st, kfb
Repeat until there are 56 sts on your needles

Measure the length of the piece from the beginning of the increasing part.

Mid part
According to the ratio calculated above knit normal ridges and short row ridges.
Normal ridge (RS and WS): k all, turn, k all
Short row ridge (RS and WS): k25, w+t, k to end

Repeat until the lower edge measures your waist circumference minus the length of increasing part. The piece will stretch quite a bit when you're wearing it, so stretch it while measuring it.

Decreasing part
R1 (RS): k2tog, k to end
R2 (WS): k all
Repeat until there are only 48 sts on your needles

R1 (RS): k2tog, k to last 2 sts, ssk
R2 (WS): k all
Repeat until there are only 10 sts on your needles

2nd strap
Now that there are only 10 stitches on your needles, knit garter stitch rows (k all), until the strap is as long as the first strap - finish the tip as follows:
R1 (RS): k2tog, k to last 2 sts, ssk
R2 (WS): k all
Repeat until there are only 2 sts left.
BO these 2 sts.

Weave in ends and block gently.


This blogpost was featured at the Linky Ladies Community Link Party #88 and at the Knitting Love Link Party #18 (February 2017). Thank you!

Linky Ladies Featured on Knitting Love Link Party with Jessie At Home and Underground Crafter

Dienstag, 3. Januar 2017

Zimtsterne Fingerlose Handschuhe - Anleitung auf Deutsch

Bernadette von „Törtchens Blog“ hat sich die Mühe gemacht, die Anleitung für die Zimtstern Mitts in Deutsche zu übersetzen. Vielen lieben Dank dafür. In diesem Blogbeitrag hat sie ihre Erfahrungen beschrieben.

Die Anleitung als PDF gibt es hier.

The original pattern in english is available here.
Die Originalanleitung auf Englisch gibt es hier.


Sonntag, 1. Januar 2017

Another Sock Idea - Socks with a Butterfly Pattern

Happy new year to all of you!

Over the holidays I stayed at home a lot - and knitted socks. So here's another idea for knitted socks, however this exact pattern only works with a stitch count that is a multiple of 12. These socks are knitted top down with a heel flap.


Creative Commons License
This work by Knitting and so on is licensed under a Creative Commons Attribution-NonCommercial-ShareAlike 4.0 International License.

As in my last blogpost with a sock idea, this is NOT a complete knitting pattern, but just a sketch or rather a stitch pattern (over 12 stitches and 12 rows) that can be used for socks. So this only works for socks with a number of stitches that is a multiple of 12.
For socks there are many general instructions and tutorials around, I have linked to some in the Techniques section of this post.


Materials
  • about 60 grams of fingering weight yarn - or yarn where a multiple of 12 stitches is big enough to fit around your ankles
  • 3mm knitting needles (I used dpns, but a circular needle works as well with the magic loop method) - or needles where the multiple of 12 stitches fits around your ankles
  • slightly bigger needles for a looser CO
  • a darning needle to weave in ends

Techniques

"Instructions"

With the bigger needles CO 60 stitches and join in round.
With smaller needles start knitting.

Knit 12 rounds of p2k2 ribbing.

Then start with the butterfly pattern (see also chart below):
Round 1: k all
Round 2: * k1, C2B, C2F, k7 repeat from *
Round 3: k all
Round 4: * k1, C2F, C2B, k7 repeat from *
Rounds 5, 6, 7: k all
Round 8: * k7, C2B, C2F, k1 repeat from *
Round 9: k all
Round 10: * k7, C2F, C2B, k1 repeat from *
Round 11, 12: k all

Repeat three times then start heel flap over 30 stitches. Turn the heel. Then knit the gusset while continuing the butterfly pattern in front.

When foot is long enough, do toe decreases and graft leftover stitches with kitchener stitch.

Make two.


This post was featured at the Linky Ladies Community Link Party No. 86. Thank you!

Featured Five Club

Montag, 26. Dezember 2016

An Idea for Knitted Socks

In this frosty winter weather, nice wollen socks are a comfort for cold feet. That's why I am currently knitting socks, socks and even more socks. I also wanted to try a few different techniques for knitting socks. The helix knitting allows for jogless stripes and is great to use up leftovers of sock yarn that are not enough for a complete pair of socks.


This is definitely NOT a complete pattern, but a sketch or idea for a pair of socks that explains some points to pay attention to when knitting socks with this helix knitting technique.


Creative Commons License
This work by Knitting and so on is licensed under a Creative Commons Attribution-NonCommercial-ShareAlike 4.0 International License.


Materials
  • about 60 to 70 grams of fingering weight yarn
  • 3mm dpns (I usually distribute my stitches on four needles when knitting socks)
  • scrap yarn for afterthought heel
  • a tapestry needle to weave in ends

Techniques


"Instructions" or what to bear in mind

Knit a toe in one color and distribute your stitches on four needles. After finishing the toe, skip one needle and start the 2nd color in the middle of the sole side of your sock (see photo on the right hand side).


Knit two needles with the 2nd color, then go back to the 1st color yarn and knit two needles with your 1st color. Switch to the needle where the yarn of the 2nd color is currently and knit two needles from there. Go on alternating between both colors.

For this kind of helix knitting you need a heel that does not rely on rows on the top of the foot. The only heel with this property that I know of is the afterthought heel. Make sure to insert the scrap yarn for the afterthought heel after knitting the two heel needles in one color, i.e. do not insert the scrap yarn for the afterthought heel over a color change.

Then go on with your helix pattern - make sure to end the 2nd color also in the middle of the back of the sock. I used the first color to knit the rib and also to knit the afterthought heel.


Donnerstag, 15. Dezember 2016

Garter Stitch Christmas Gnome

When I recently saw a picture of a felted "Weihnachtswichtel" (Christmas gnome or christmas elf) on social media, I wanted to do something similar in knitting. So I took the general shape of the Little Christmas Tree pattern and added some stranded colorwork.


Creative Commons License
This work by Knitting and so on is licensed under a Creative Commons Attribution-NonCommercial-ShareAlike 4.0 International License.


I like the result - even though it took me a while to get the face right - so the first two got a little facelift after the knitting was finished, i.e. I added some embroidery :) The version described in this pattern is the last one I knitted (see picture below). for this one, no embroidery was added.


Materials
  • I used old yarn in four colors - mainly red, some white, some beige (for the face) and black for the eyes - I believe it was sports weight yarn; one gnome weighs about 12 grams
  • knitting needle that's a bit smaller than the size the yarn calls for; I used 2.5mm needles
  • a third needle for a three-needle bind off
  • scrap yarn for the provisional cast on
  • a crochet hook for provisional cast on

Techniques and Special Abbreviations

General Construction
Each gnome consist of a pizza-slice shaped piece that is sewn together at the straight sides in the end. The shape is achieved by knitting three parts of garter stitch short rows. Part 1 and 3 are only knitted in one color - part two also has the colorwork for the beard an face.
Before the three needle BO, the piece looks as shown in the picture below.


Instructions

With scrap yarn pCO 24 stitches - this does not include the first row with your working yarn.

Part 1 - all knitted in red yarn
Rigde 1: k all, turn, sl1, k to end
Ridge 2: k10, w+t, k to end
Ridge 3: k16, w+t, k to end
Ridge 4: k8, w+t, k to end
Ridge 5: k14, w+t, k to end
Ridge 6: k4, w+t, k to end
Ridge 7: k20, w+t, k to end
Ridge 8: k12, w+t, k to end
Ridge 9: k2, w+t, k to end
Ridge 10: k18, w+t, k to end
Ridge 11: k6, w+t, k to end
Ridge 12: k22, w+t, k to end
Chart for parts 1 and 3 - click to enlarge

Part 2

Ridge 1: k4 (red),
Ridge 2: k4 (red), k3 (white), k1 (red), w+t, k1 (red), k3 (white), k4 (red)
Ridge 3: k6 (white), k1 (beige), k5 (red), w+t, k5 (red), k1 (beige), k6 (white)
Ridge 4: k5 (white), k3 (beige), k8 (red), w+t, k8 (red), k3 (beige), k5 (white)
Ridge 5: k5 (white), k1 (beige), k1 (black), 1 (beige), k12 (red), w+t, k12 (red), k1 (beige), k1 (black), 1 (beige), k5 (white)
Ridge 6: k4 (white), k4 (beige), k16 (red), w+t, k16 (red), k4 (beige), k4 (white)
Ridge 7: k5 (white), k1 (beige), k1 (black), k1 (beige), k14 (red), w+t, k14 (red), k1 (beige), k1 (black), k1 (beige), k5 (white)
Ridge 8: k5 (white), k3 (beige), k10 (red), w+t, k10 (red), k3 (beige), k5 (white)
Ridge 9:  k6 (white), k1 (beige), k7 (red), w+t, k7 (red), k1 (beige), k6 (white)
Ridge 10: k4 (red), k3 (beige), k3 (red), w+t, k3 (red), k3 (beige), k4 (red)
Ridge 11: k7 (red), w+t, k7 (red)
Ridge 12: k2 (red), w+t, k2 (red)
Chart for part 2 - click to enlarge

Part 3
Repeat part 1

Finishing
Put the stitches from the provisional CO on a knitting needle. Hold the piece rights sides together and do a three needle bind off.
Afterwards, turn the piece right sides out. Use a pen or something similar to get into the top.
If the yarn you used was really soft, you might want to stabilize the tree. You can do this by cutting out a piece of paper or soft cardboard in the shape of a 90° pizza slice (similar to the tree before the three needle BO) and insert it into the tree.
The yarn I used was stiff enough, so there wasn't any need for stabilization.


This pattern was featured on Hooking up on Hump Day Link Party #134. Thank you!

Samstag, 10. Dezember 2016

O Christmas Tree

Christmas is drawing nearer and nearer. Unfortunately, this year it's quite difficult for me to get into a christmas mood. That's why I tried to create my own knitted decorations christmas decorations.
Here's the result: a small and fun pattern for a little christmas tree in two sizes. One tree only takes up about 10 to 15 grams of yarn, so it's great for using up some leftover green yarn. 


Creative Commons License
This work by Knitting and so on is licensed under a Creative Commons Attribution-NonCommercial-ShareAlike 4.0 International License.


Materials
  • per tree I used about 10 to 14 grams of very (!) old green yarn in my stash; I guess it was DK or sports weight yarn
  • knitting needle that's a bit smaller than the size the yarn calls for; I used 2.5mm needles
  • a third needle for a three-needle bind off
  • scrap yarn for the provisional cast on
  • a crochet hook for provisional cast on


Techniques and Special Abbreviations
  • Provisional CO: My favorite method for a provision CO is the crochet provisional CO - it is shown in this Youtube video by New Stitch a Day.
  • Short rows with wrap and turn ("w+t")https://youtu.be/G4GxFvi4KD0
  • Three Needle Bind Offhttps://youtu.be/Ph93jWSzTa0
  • Small "Bobble": I used the following method to knit a small bobble: right in the middle of the row (where the pattern asks you to knit a bobble) CO4 with knitted CO (or cable CO), then directly bind off 4 stitches and go on knitting the row. In the instructions the word "bobble" will be used (here's how to do a knitted CO: https://youtu.be/bTgT7kE1c_k)

Instructions

Bigger Tree

Provisionally CO 30 sts and knit the first row with your working yarn
Ridge 1: sl1, k10, w+t, k to end
Ridge 2: sl1, k4, bobble, k10, bobble, k3, w+t, k to end
Ridge 3: sl1, k16, w+t, k to end
Ridge 4: sl1, k8, bobble, k4, w+t, k to end
Ridge 5: sl1, k13, w+t, k to end
Ridge 6: sl1, k3, bobble, k7, bobble, k15, w+t, k to end
Ridge 7: sl1, k10, w+t, k to end
Ridge 8: sl1, k4, w+t, k to end
Ridge 9: sl1, k7, bobble, k6, w+t, k to end
Ridge 10: sl1, k6, w+t, k to end
Ridge 11: sl1, k22, w+t, k to end
Ridge 12: sl1, k5, bobble, k2, w+t, k to end
Ridge 13: sl1, k17, bobble, k to end; turn; sl1, k to end
Repeat rows 1 to 13 twice more.

Now your piece should look similar to the one in the picture on the right.

Finishing
Put the stitches from the provisional CO on a knitting needle. Hold the piece rights sides together and do a three needle bind off.
Afterwards, turn the piece right sides out. Use a pen or something similar to get into the top.
If the yarn you used was really soft, you might want to stabilize the tree. You can do this by cutting out a piece of paper or soft cardboard in the shape of a 90° pizza slice (similar to the tree before the three needle BO) and insert it into the tree.
The yarn I used was stiff enough that there wasn't any need for stabilization.


Smaller Tree

Provisionally CO 24 sts and knit the first row with your working yarn
Ridge 1: sl1, k20, w+t, k to end
Ridge 2: sl1, k3, bobble, k8, w+t, k to end
Ridge 3: sl1, k16, w+t, k to end
Ridge 4: sl1, k5, bobble, k4, bobble, k3, w+t, k to end
Ridge 5: sl1, k4, w+t, k to end
Ridge 6: sl1, k11, bobble, k2, w+t, k to end
Ridge 7: sl1, k10, w+t, k to end
Ridge 8: sl1, k4, bobble, k12, bobble, k to end; turn; sl1, k to end
Ridge 9, sl1, k8, w+t, k to end
Ridge 10: sl1, k6, bobble, k5, bobble, k5, w+t, k to end
Ridge 11: sl1, k6, w+t, k to end
Ridge 12: sl1 k to end; turn, s1, k to end
Repeat rows 1 to 13 twice more.

Finishing
Put the stitches from the provisional CO on a knitting needle. Hold the piece rights sides together and do a three needle bind off.
Afterwards, turn the piece right sides out. Use a pen or something similar to get into the top.
If the yarn you used was really soft, you might want to stabilize the tree. You can do this by cutting out a piece of paper or soft cardboard in the shape of a 90° pizza slice (similar to the tree before the three needle BO) and insert it into the tree.


This blogpost was featured at the Handmade Monday Link Party No. 5. Thank you!

Mittwoch, 7. Dezember 2016

Sparkler Mitts auf Deutsch

Heike von Heikeshaekellust (eifelgirl1 auf Ravelry) hat sich die Mühe gemacht, die Häkel-Anleitung für die Sparkler Mitts ins Deutsche zu übersetzen. Vielen lieben Dank dafür!
(Edit 03.10.2021: Update des Links auf die PDF-Datei, da sich offenbar die Links auf GoogleDrive geändert hatten.)

Die Anleitung findet sich hier als PDF-Datei.

The original english version of this free crochet pattern is available in this blogpost.