Freitag, 23. Dezember 2011

Velvet Cowl

I made a cowl from a pair of old velvet trousers my mum wanted to throw away. I cut the trousers into stripes (just like making t-shirt yarn, but with only about 1cm width, because the material is rather heavy), tugged the stripes (very gently) and started knitting.

The cowl is knit diagonally.

I used 12mm needles, but thicker needles can be used as well.

CO18
Row 1: ssk k until last stitch kfb
Row 2: purl
Row 3: ssk k until last stitch kfb
Row 4: *knit yo* repeat
Row 5: ssk knit (dropping all yo's) until last stitch kfb
Row 6: ssk k until last stitch kfb

Knit until you run out of material - ideally until the cowl would fit nicely over your head. Then connect the ends by grafting or sewing.

Freitag, 16. Dezember 2011

Bamboo & Ruffles Wrist Warmers

These stretchy wrist warmers are knitted in the round and very easy to knit, i.e. the pattern is suited for beginners. The stitch pattern is called "Bamboo stitch" - at least where I come from ;)


Creative Commons License
This work by Knitting and so on is licensed under a Creative Commons Attribution-NonCommercial-ShareAlike 3.0 Unported License.

Non-Standard Abbreviations:
  • yo2k = yo k2 pass the yarn over over both knit stitches
  • 1to3 = k1 leave stitch on needle yo k1 

Materials:
Fingering weight yarn
3.5mm dpns

Instructions:
CO48
join in round
Rows 1-6: p1 k2 p1 (repeat)
Row 7: p1 yo2k p1 (repeat)

Rows 8-10: p1 k2 p1 (repeat)
repeat rows 7 to 10 a total of 14 times then start with ruffles on top

Ruffle Row 1: p1 1to3 p1 (repeat)
Ruffle Row 2: p1 k1 1to3 k2 1to3 k1 p1 (repeat)
Ruffle Row 3: p1 k10 p1 (repeat)
BO while repeating ruffle row 3.

Make two.


Samstag, 12. November 2011

Onion Market Wrist Warmers

Free Knitting Pattern: Onion Market Wrist Warmers; http://knitting-and-so-on.blogspot.comWith their onion-shaped pattern, these mitts are perfect to wear at the Berne Onion Market (Zibelemärit).
A finished wrist warmer measures 18 cm (length) and 13 cm (circumference, lower end). However, the pattern is quite stretchy.


Creative Commons License
Onion Market Wrist Warmers by Knitting and so on is licensed under a Creative Commons Attribution-NonCommercial-ShareAlike 3.0 Unported License.

Print Friendly and PDF


Materials:
Sock Yarn (Fingering)
3mm dpns

Definitions:
If there are any standard abbreviations for that please let me know

  • 3to1 = sl1 k2tog psso
  • 1to3 = k1 leave stitch on needle yo k1

Instructions:
CO48
join in round
Row 1: p1 k7 p2 k1 p1 (repeat)
Row 2 = Row 1
Row 3 = Row 1
Row 4: p1 k2 3to1 k2 p2 1to3 p1 (repeat)
Row 5: p1 k5 p2 k3 p1 (repeat)
Row 6: p1 k1 3to1 k1 p2  k1 1to3 k1 p1 (repeat)
Row 7: p1 k3 p2 k5 p1 (repeat)
Row 8: p1 3to1 p2 k2 1to3 k2 p1 (repeat)
Row 9: p1 k1 p2 k7 p1 (repeat)
Row 10: Row 9
Row 11: Row 9
Row 12: p1 1to3 p2 k2 3to1 k2 p1 (repeat)
Row 13: p1 k3 p2 k5 p1 (repeat)
Row 14: p1 k1 1to3 k1 p2 k1 3to1 k1 p1 (repeat)
Row 15: p1 k5 p2 k3 p1 (repeat)
Row 16: p1 k2 1to3 k2 p2 3to1 p1 (repeat)

Repeat.
Repeat again.

Upper Edge - Version A

Rows 49 to 58 = Rows 1 to 10
Row 59: p1 k7 p1 m1(purl) p1 k1 p1 (repeat)
Row 60: p1 1to3 p3 k2 3to1 k2 p1 (repeat)
Row 61: p1 k3 p3 k5 p1 (repeat)
Row 62: p1 k1 1to3 k1 p1 m1(purl) p1 m1(purl) p1 k1 3to1 k1 p1 (repeat)
Row 63: p1 k5 p5 k3 p1 (repeat)
Row 64: p1 k2 1to3 k2 p5 3to1 p1 (repeat)
Row 65: p1 k7 p1 m1(purl) p3 m1(purl) p1 k1 p1 (repeat)
Row 66: p1 k7 p7 k1 p1 (repeat)
Row 67 = Row 66 while binding off loosely

(Changes to the original pattern, i.e. the increases at the top, are written in bold face).


Upper Edge Version B (blue)

Rows 49 to 57 = Rows 1 to 9
Row 59:  p1 k1 p1 m1(purl) p1 k7 p1 m1(purl) (repeat)
Row 59: p1 k1 p3 k7 p2 (repeat)
Row 60: p1 1to3 p3 k2 3to1 k2 p2 (repeat)
Row 61: p1 k3 p3 k5 p2 (repeat)
Row 62: p1 k1 1to3 k1 p3 k1 3to1 k1 p2 (repeat)
Row 63: p1 k5 p3 k3 p2 (repeat)
Row 64: p1 k2 1to3 k2 p3 3to1 p2 (repeat)
Row 65: p1 k7 p3 k1 p2 (repeat)
Row 66: p1 k7 p1 m1(purl) p1 m1(purl) p1 k1 p1 m1(purl) p1 m1(purl) (repeat)
Row 67:  p1 k7 p5 k1 p4 (repeat)
Row 68-71 = Row 67
Bind of loosely in Row 71.

This post was featured at the Pinbellish Pin Party at Purfylle.com.

Sonntag, 6. November 2011

Plain with Picots

Free Knitting Pattern: Plain with Picots Wrist Warmers
These wrist warmers have a lovely victorian look.
However, they are very simple in construction and easy to knit ... basically only in 3p1 ribbing with a bit of garter stitch and picots on both ends.
This pattern is suited for beginners who would like to try Picot Cast-on and Picot Bind-Off.


Creative Commons License
This work by Knitting and so on is licensed under a Creative Commons Attribution-NonCommercial-ShareAlike 3.0 Unported License.


Materials:
3.5 mm dpns
4mm dpns
a tapistry needle
about 90 metres of cotton yarn


Gauge:
with 4mm needles: 5 sts and 9 rows = 1 inch x 1 inch in garter stitch

Instructions:
With 4 mm needle picot cast on 36 sts (i.e. CO 5, BO 2 ... now you have 3 sts on the needle - repeat until you have 36 sts, a video explanation of the picot cast on can be found here)
knit one round
purl one round
knit one round
purl one round
knit one round


Change to 3.5mm neeldes
from the next round on: (k3 p1)
repeat for about 30 rows


Round A: (k3 p1 k1 [k1 without dropping the st from left needle, yo, k1] k1 p1 k3 p1) repeat
Rounds B & C: (k3 p1 k5 p1 k3 p1) repeat
Round D: (k3 p1 k2 [k1 without dropping the st from left needle, yo, k1] k2 p1 k3 p1) repeat
Rounds E & F:  (k3 p1 k7 p1 k3 p1) repeat
(there are now 48 sts in one round)

change to 4mm needles

knit one round
purl one round
knit one round
purl one round
picot bind off (i.e. CO2, BO5; a video explaining the picot bind off can be found here).

Weave in ends.
Make two.

The finished piece measures about 15 cm circumference and is about 17 cm long (picot end to picot end).

Sonntag, 30. Oktober 2011

Craft Ideas

  • Crochet Entrelac Wrist Warmers: Crochet Entrelac
  • Crochet Wrist Warmers in Crocodile Stitch 
  • Wrist Warmers with Border in Indian Cross Stitch
  • Wrist Warmers with Short Rows (in-the-round)
  • Bag from Sock Yarn

  • Hat as seen in La Bolsa

Four Strand Cable Mitts

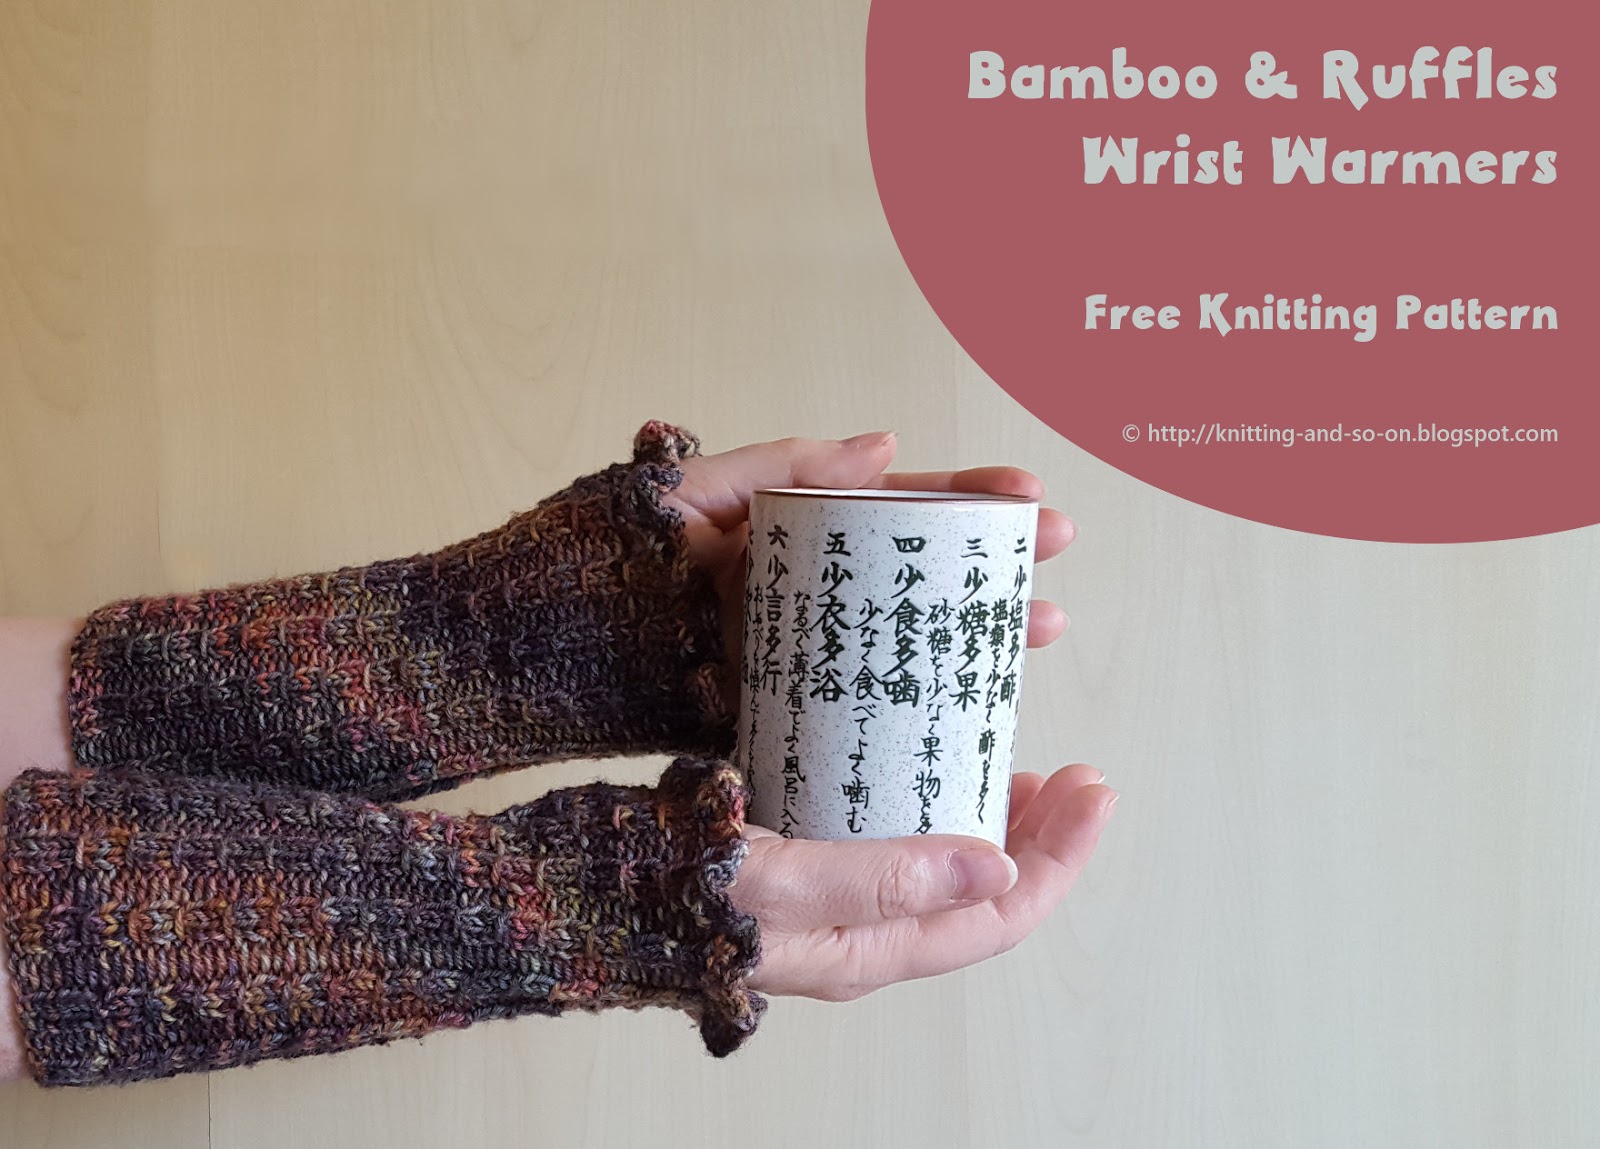
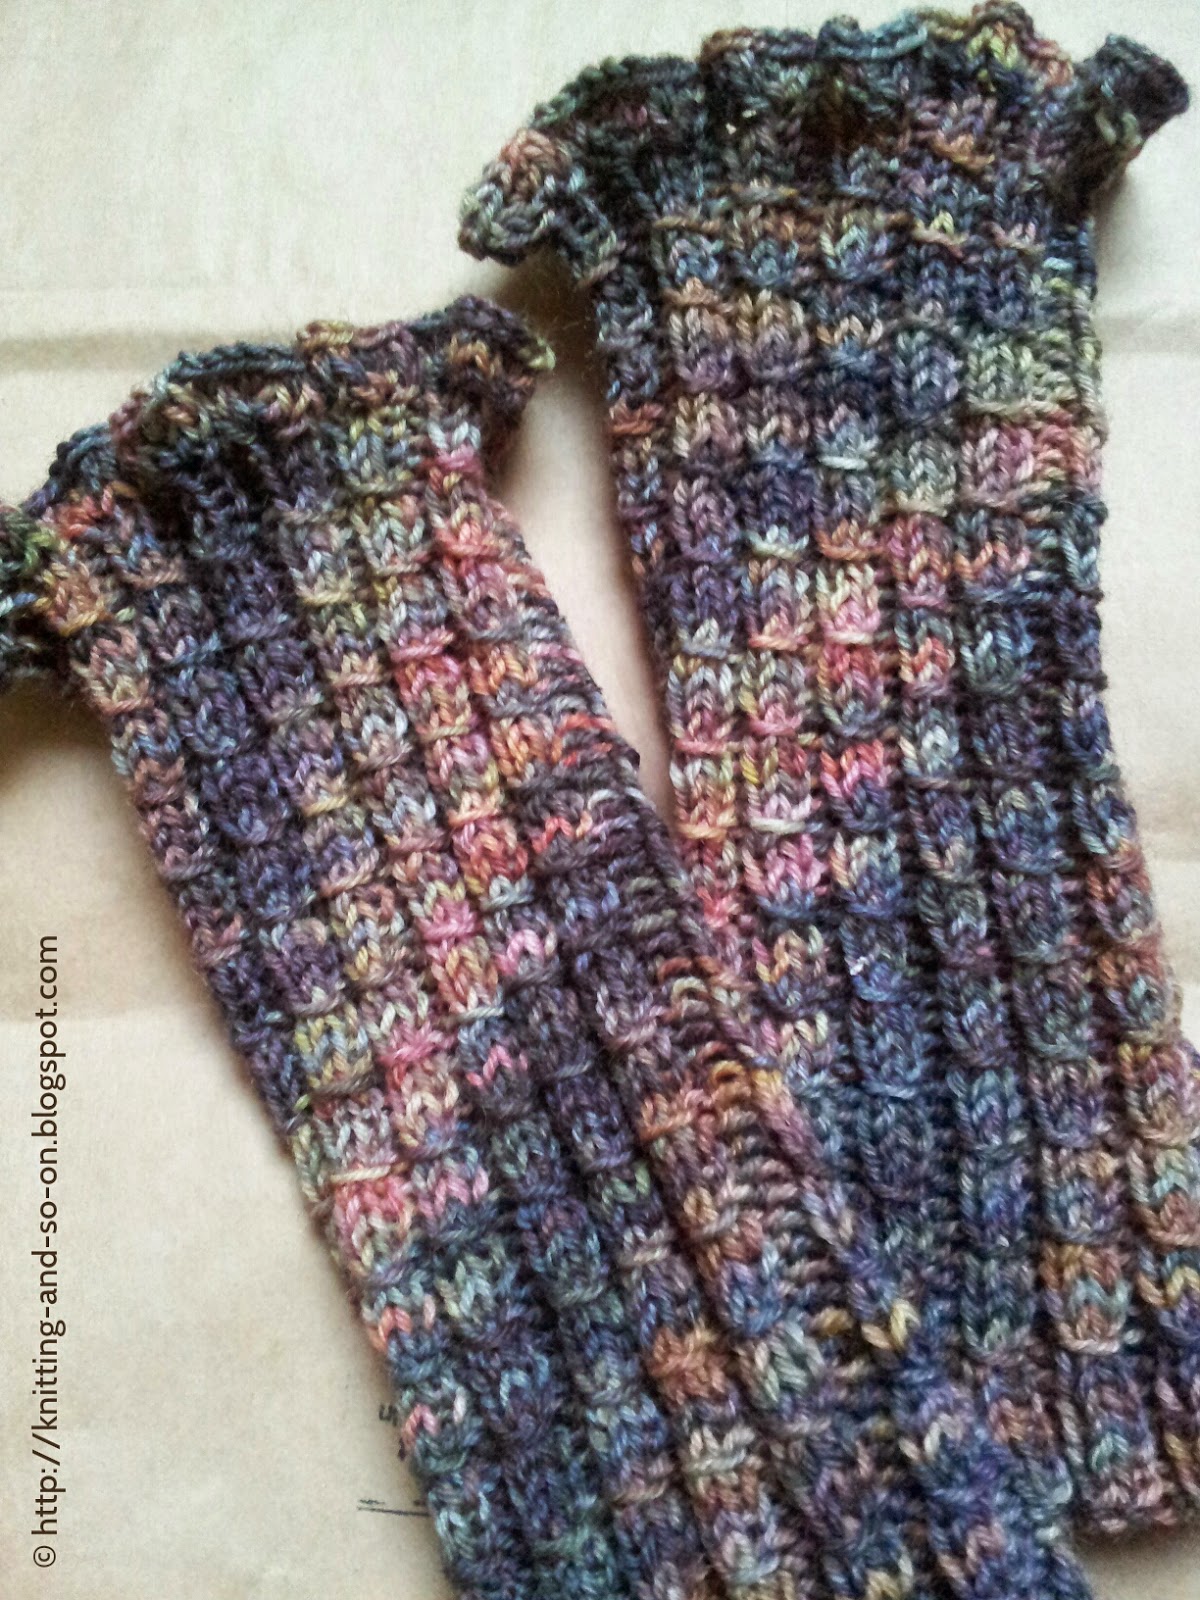
My first fingerless gloves with a cable pattern. I like the way the four strands cabling looks like a pinwheel.


Creative Commons License
This work by Knitting and so on is licensed under a Creative Commons Attribution-NonCommercial-ShareAlike 3.0 Unported License.

Materials:
  • fingering weight yarn
  • needles: 3 mm dpns 
  • cable needle
  • Stitch holder or safety pin (to secure the stitches of the thumb gusset)
Size of the finished piece:
Length = ca. 20 cm, Circumference = ca. 18 cm

Gauge
26 stitches x 34 rows = 9 cm x 9 cm

Instructions:

CO54
join in round

Row 1 - 7: p1 k8 (6 times)
Row 8: p1 k2 c4f k2 p1 k8 (3 times)
Row 9 = Row 1
Row 10: p1 c4b c4b p1 k8 (3 times)
Row 11 = Row 1
Row 12 = Row 8
Row 13 - 15 = Row 1
Row 16 = p1 k8 p1 k2 c4f k2 (3 times)
Row 17 = Row 1
Row 18 = p1 k8 p1 c4b c4b (3 times)
Row 19 = Row 1
Row 20 = Row 16
Repeat rows 5 - 20 three times more
Repeat row 1 twice more and BO


Thumb gusset:

I started in row 46, i.e. the 3rd time I reached Row 10 of the pattern. The thumb "grows" from one of the purl channels - while knitting the thumb gusset, continue with the cable pattern.
When you reach the first purl channel:
Row t1: m1 (purlwise) p1 m1 (purlwise)
Row t2: purl 3
Row t3: m1 (purlwise) p3 m1 (purlwise)
Row t4: purl 5
Row t5: m1 (purlwise) p5 m1 (purlwise)
Row t6: purl 7
Row t7: m1 (purlwise) p7 m1 (purlwise)
Row t8: purl 9
Row t9: m1 (purlwise) p9 m1 (purlwise)
Row t10: purl 11
Row t11: m1 (purlwise) p11 m1 (purlwise)
Row t12: purl13
Row t13: m1 (purlwise) p13 m1 (purlwise)
Row t14: purl 15
Row t15: place 15 purl stitches on stitch holder, make one (to form the p1 of the pattern) and continue with cable pattern.

Thumb:
After binding off, place 15 sts from stitch holder on two dpns and pick up 5 stitches from the row above and the sides.
- purl one round
- purl one round up to the last stitch (you have now finished knitting 4 of the 5 stitches on the upper needle)
p2tog p13 p2tog (this is to avoid gaps between thump and main piece)
- purl two more rounds and bind off.

Weave in ends.


Montag, 24. Oktober 2011

From Pantyhose to Phone Sock

This phone sock is made from old pantyhose cut into yarn. The material is quite flexible and - in knitted form -  makes a good protective layer around electronic equipment.

It's not much of a fancy pattern, but maybe an interesting idea for recycling.


Material:
  • 8mm dpns (or 8mm circular knitting needles using magic loop technique)
  • about two pairs of pantyhose cut into yarn (a tutorial can be found here).
  • tapistry needle
Instructions:
  • CO24 sts (I used knitted cast on to minimize the tail)
  • join in round
  • knit 35 rounds (depending on the size of your phone)
  • bind off using kitchener stitch (a tutorial can be found here)
  • weave in ends
I experimented a bit with different colours (stripes from light to dark) or patterns (e.g. k3 p1), but in the end I like the plain stockinette stitch best - without stripes or colourwork.